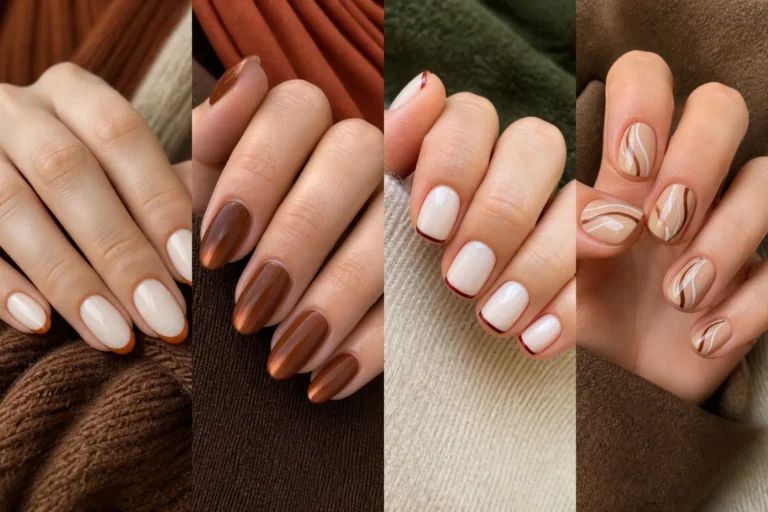
Simple Halloween Nails Spooky Looks That Feel Polished
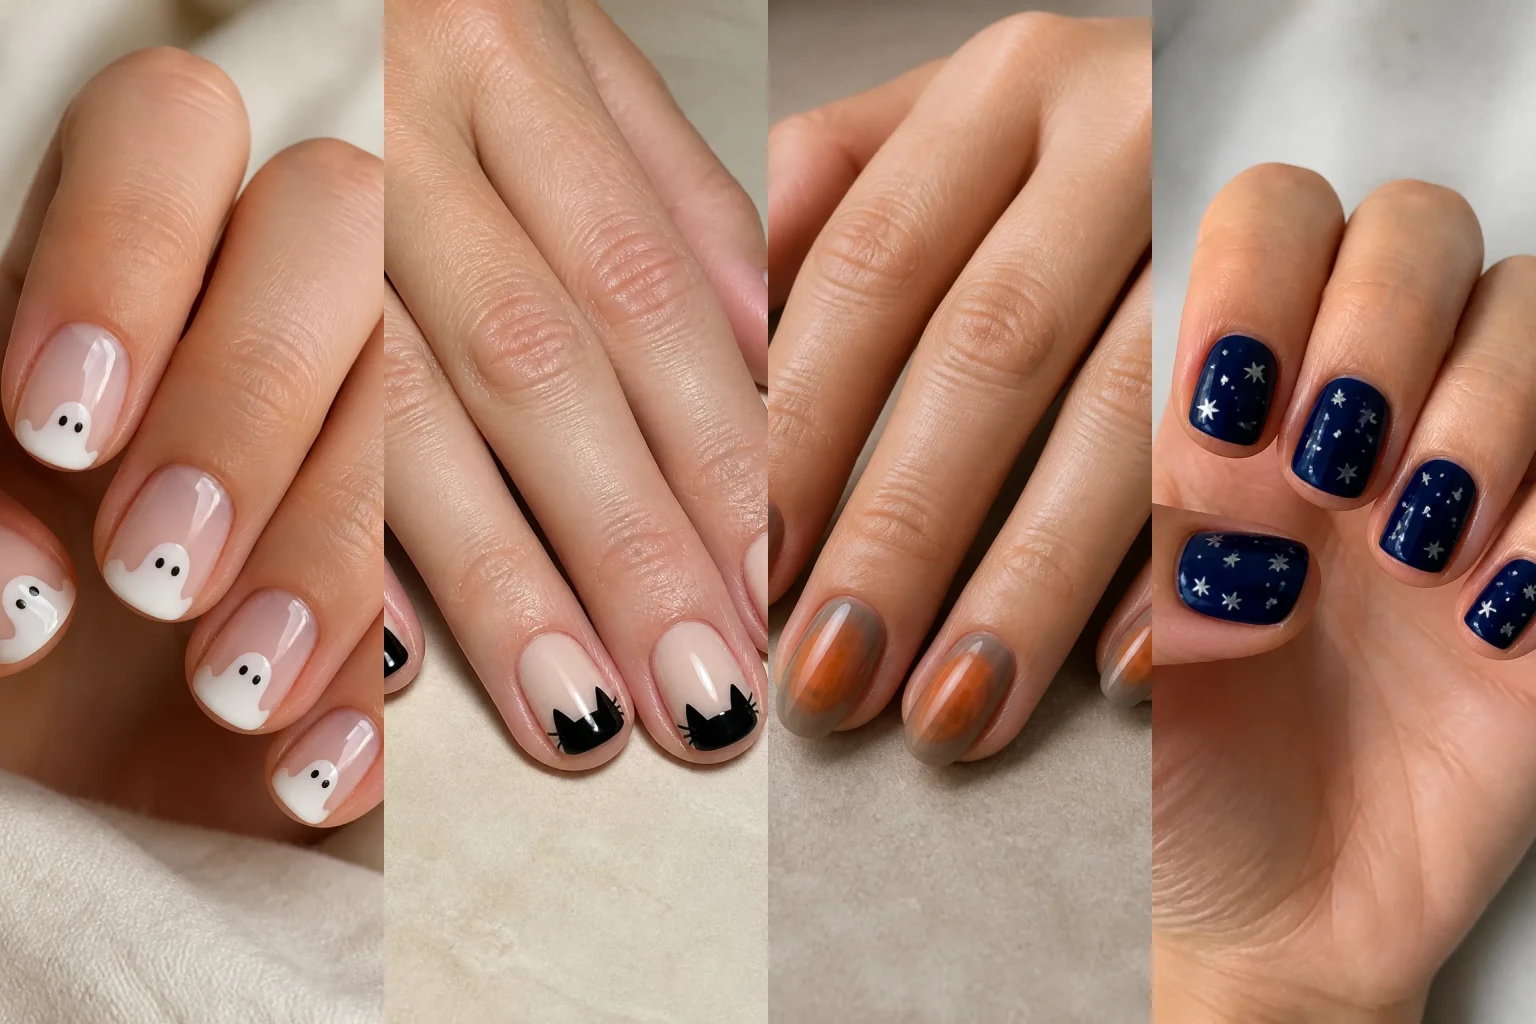
Halloween nails can look festive without taking over your whole outfit.
You May Also Love
These simple halloween nails spooky designs use tidy shapes, muted color, and manageable details.
Shorter lengths usually handle daily tasks better, especially with darker polish.
Here are the looks I would actually wear.
1- Tiny Ghost Tips
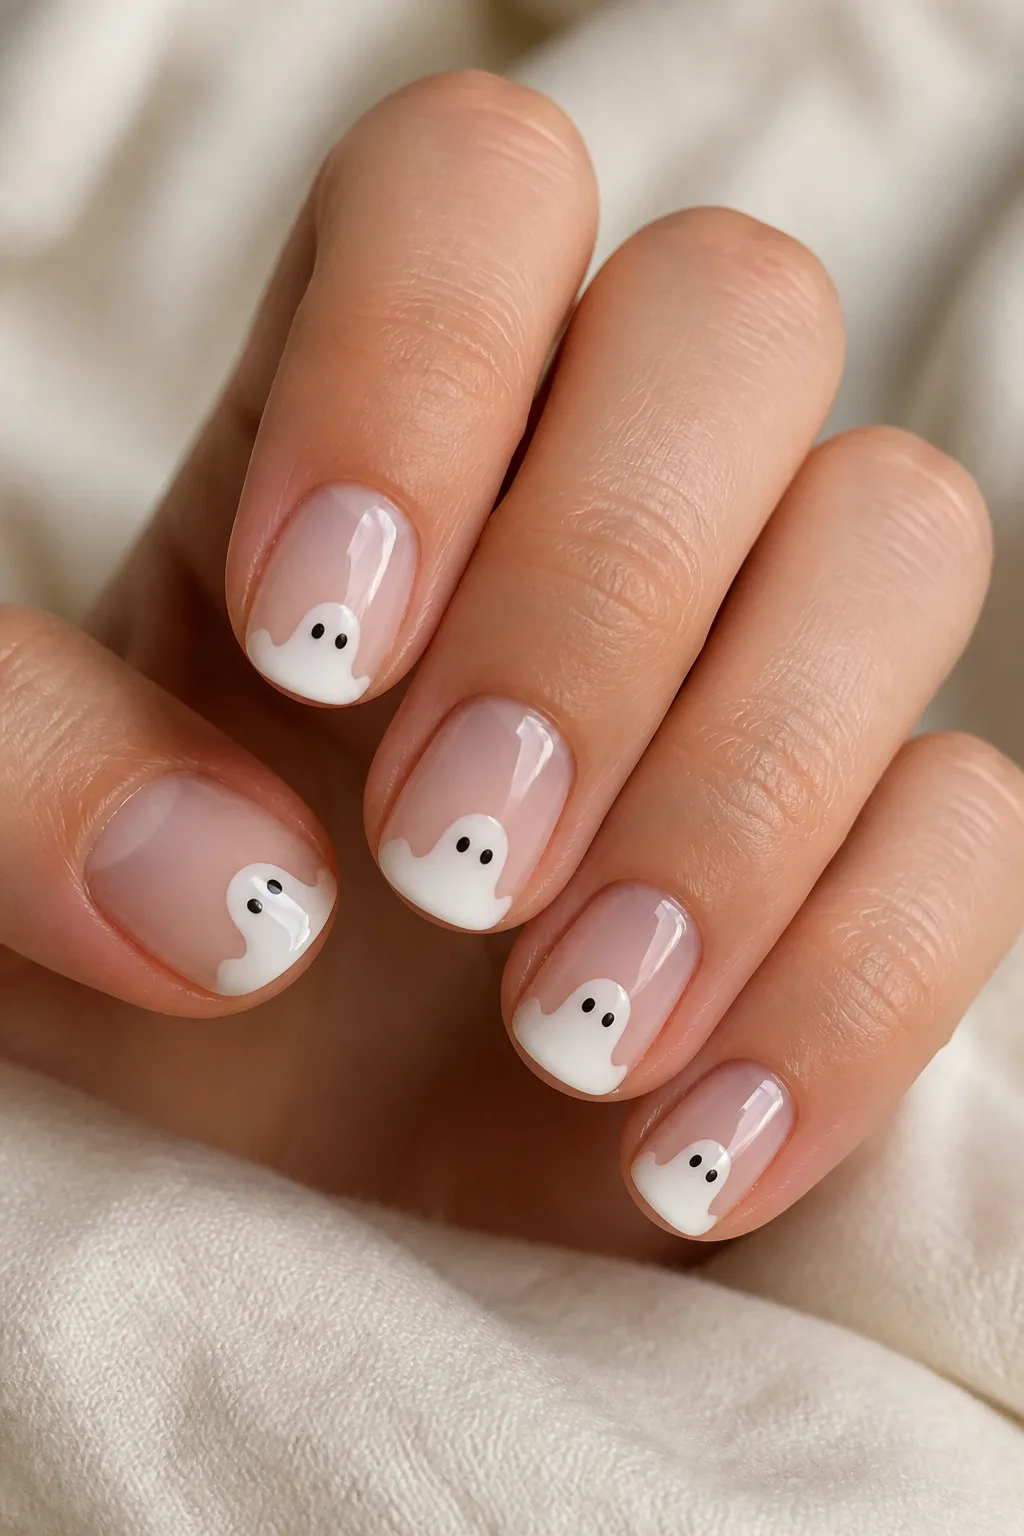
Small ghosts keep the manicure playful rather than costume-like.
Use a sheer cream base with white ghost tips on short, rounded nails.
Keep each face minimal, because tiny details can blur quickly.
Softly spooky.
- Sheer cream base polish
- White ghost silhouettes
- Black dot eyes
Extra Tip: Draw the faces after the white polish fully dries.
2- Black Cat French
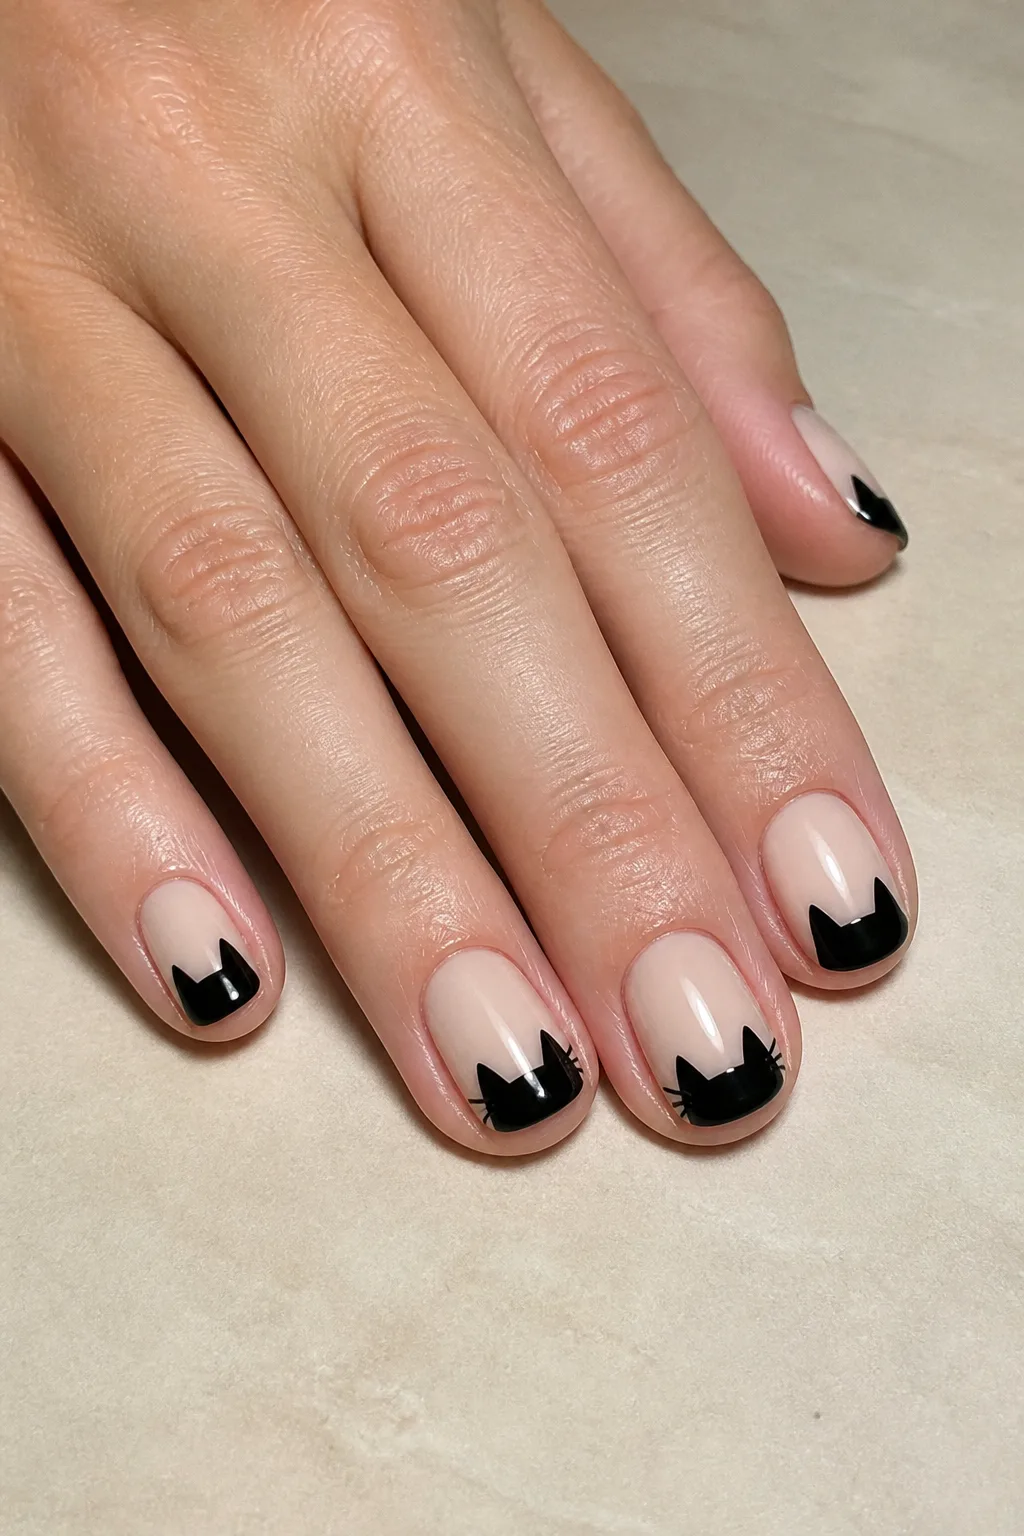
Black cat tips add Halloween character to a familiar manicure.
Paint a milky beige base and pointed black ears over each tip.
Rounded nails make the sharp ears look balanced and neat.
Whiskers are optional.
- Milky beige base
- Black French tips
- Fine black detail brush
Extra Tip: Add two tiny whiskers only on the accent nails.
3- Smoky Pumpkin
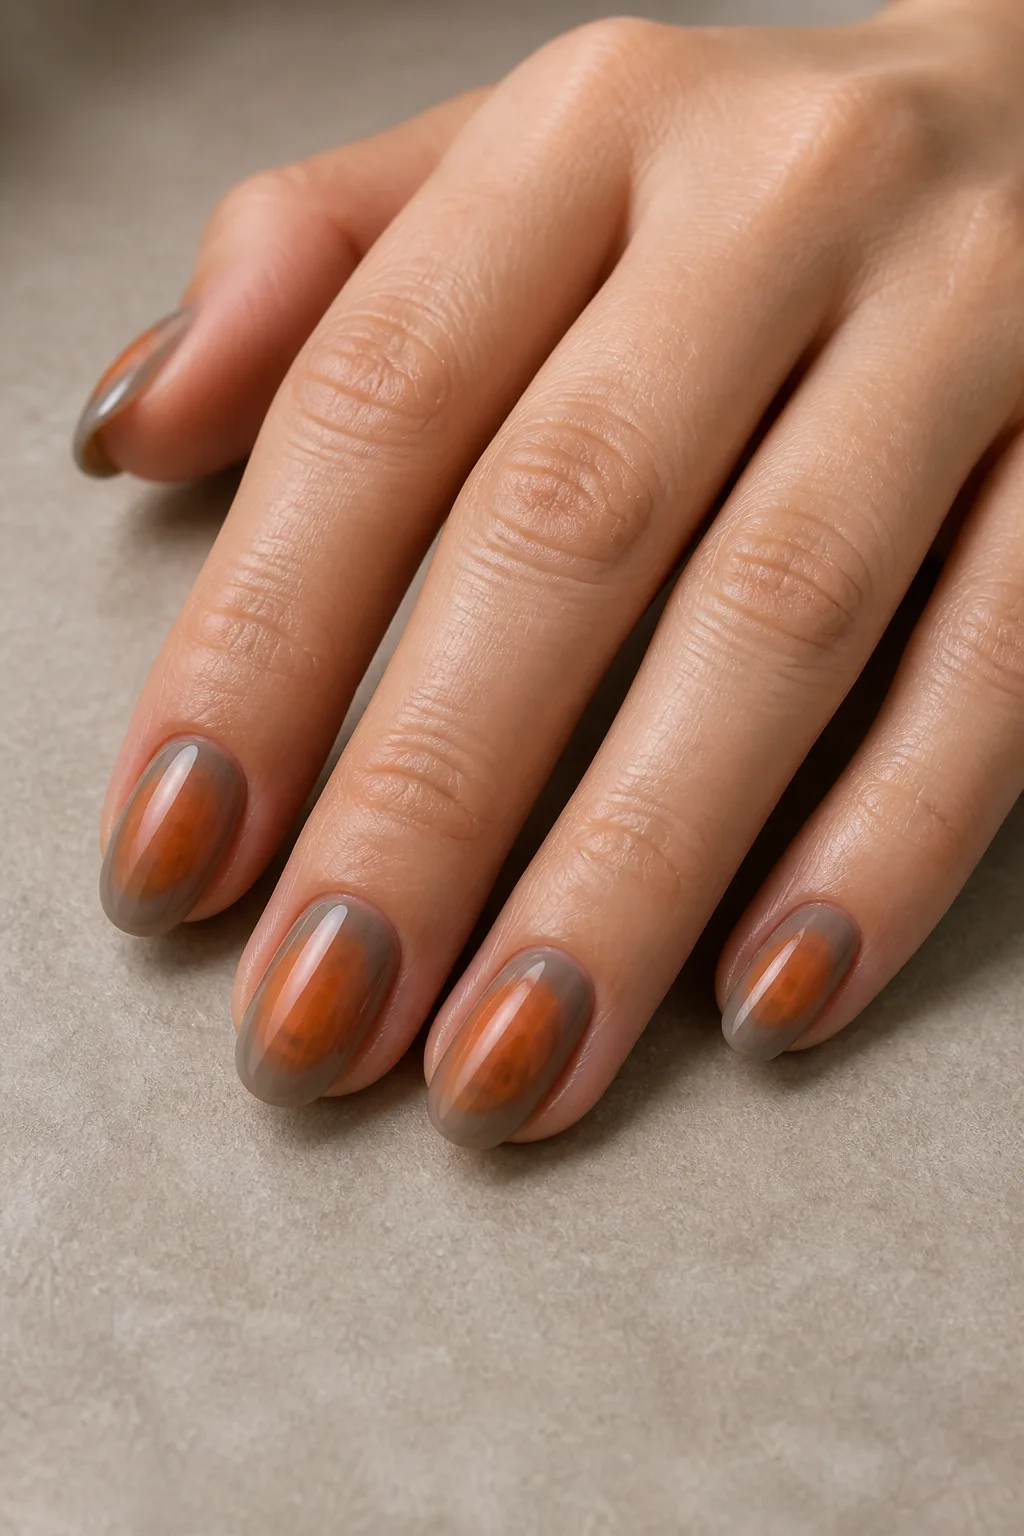
A smoky orange design feels seasonal without looking cartoonish.
Layer burnt orange polish over a translucent gray base on almond nails.
Use thin color coats to preserve the hazy, layered effect.
Autumn warmth.
- Translucent gray base
- Burnt orange polish
- Glossy topcoat
Extra Tip: Blend the orange toward the center with a small sponge.
4- Midnight Stars
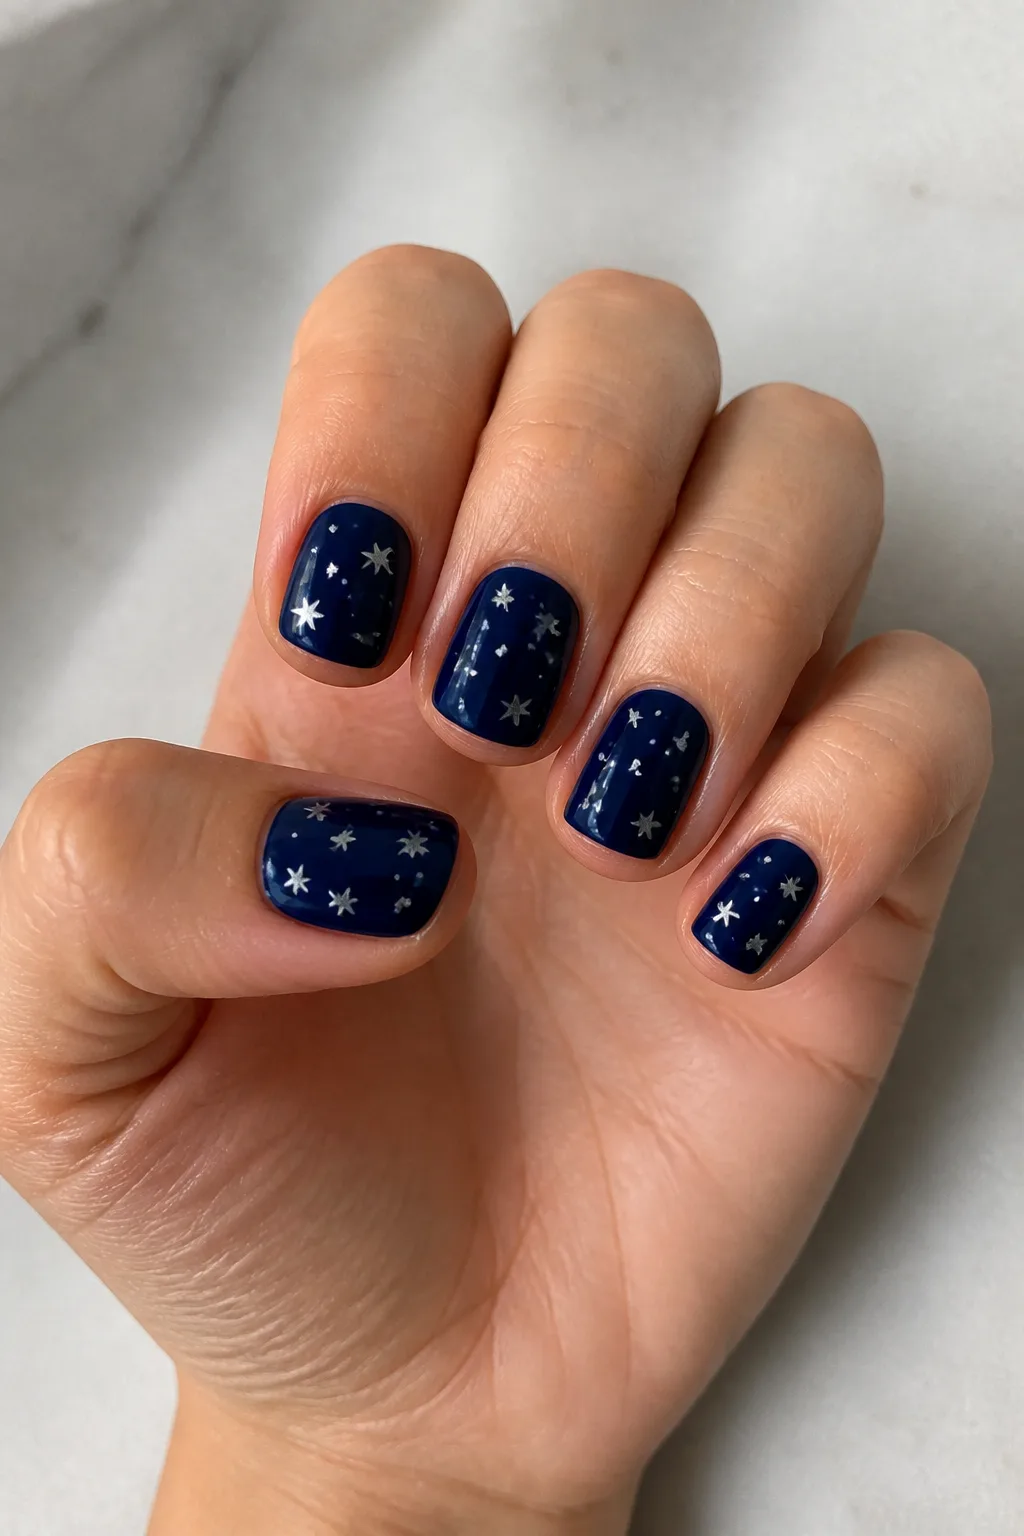
Deep navy nails create a polished night-sky interpretation.
Paint every nail navy, then add sparse silver stars and dots.
This design suits short square nails because the pattern stays orderly.
Quietly celestial.
- Deep navy polish
- Silver star decals
- Fine dotting tool
Extra Tip: Place stars unevenly so the manicure feels more natural.
5- Minimal Spiderwebs
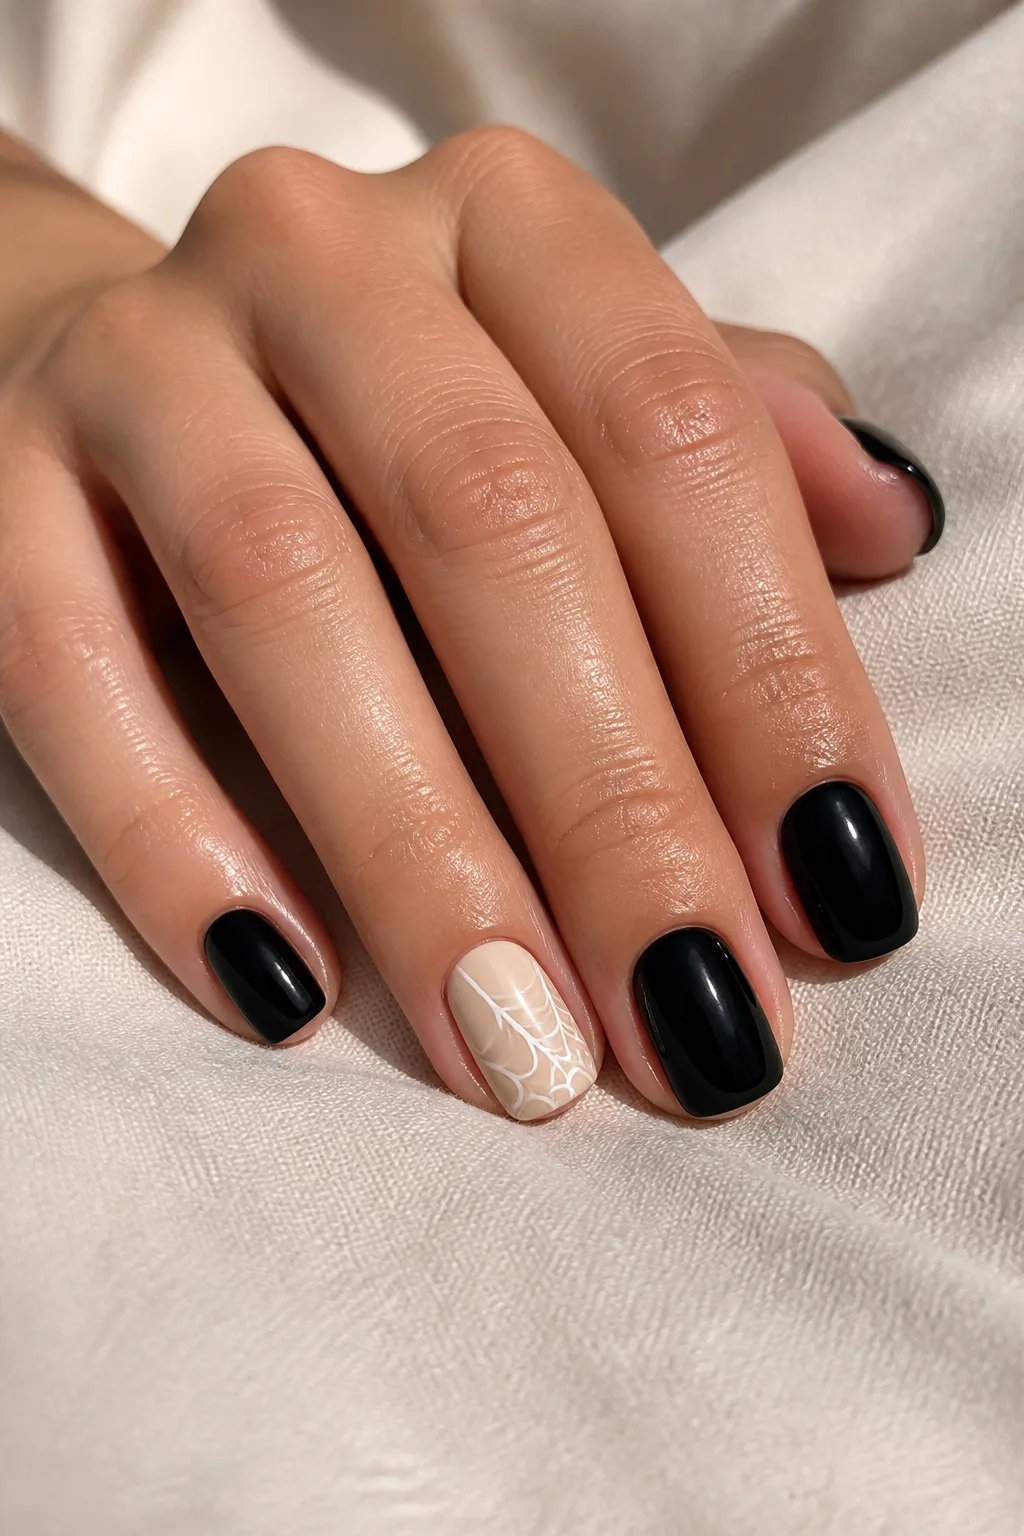
One spiderweb accent keeps the design graphic and easy.
Use glossy black polish on four nails and a cream base elsewhere.
Draw the web with three curved lines instead of filling the nail.
Clean lines win.
- Glossy black polish
- Warm cream polish
- White detail brush
Extra Tip: Practice the web on paper before touching your nails.
6- Blood Moon Half-Moons
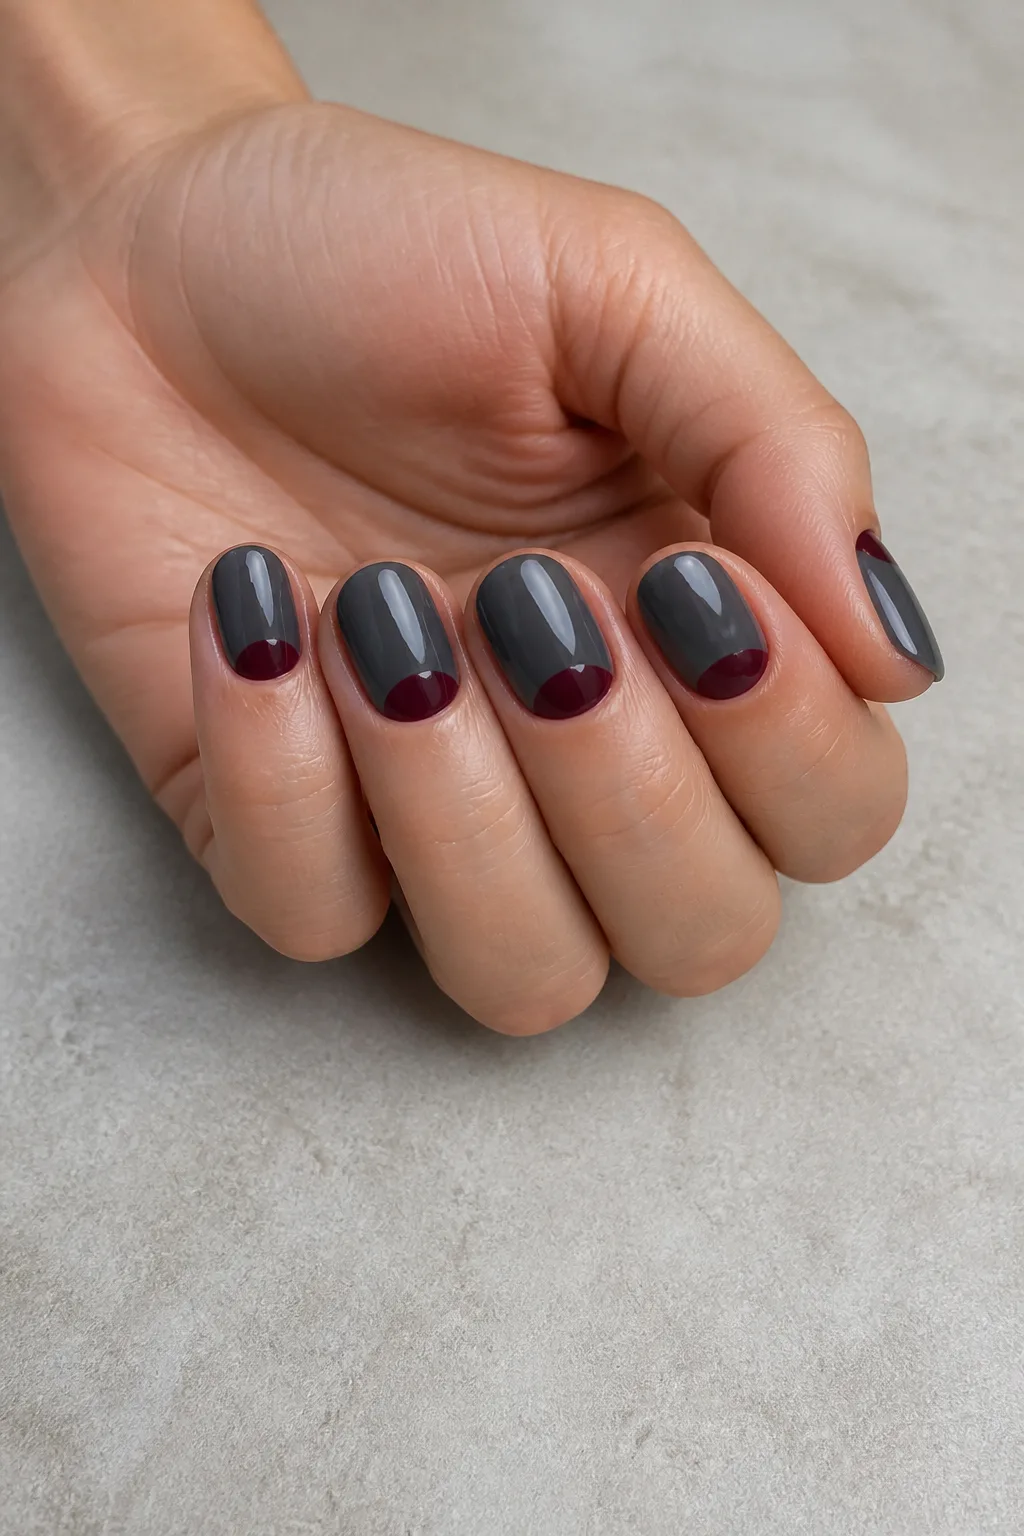
Deep red half-moons offer a grown-up Halloween reference.
Paint short oval nails charcoal, leaving burgundy curves near each cuticle.
Use guide stickers for even arcs and a cleaner finish.
Moody, not messy.
- Charcoal polish
- Burgundy polish
- Half-moon guide stickers
Extra Tip: Remove each guide while the second color remains slightly tacky.
7- Friendly Pumpkin Faces
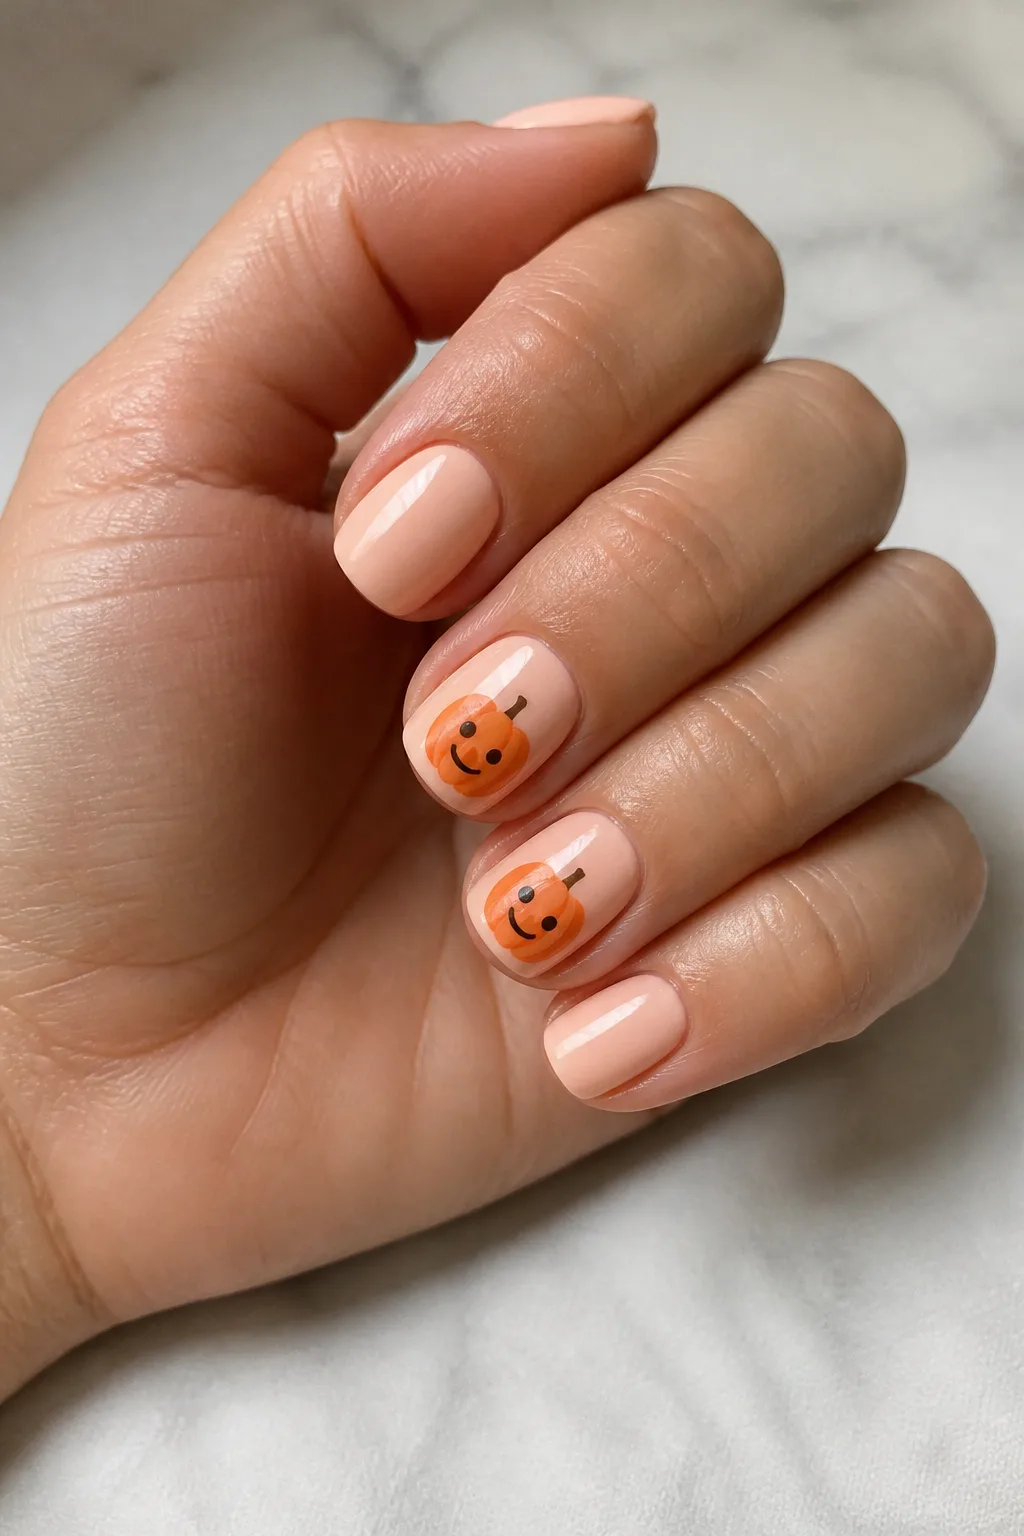
Tiny pumpkin faces make a cheerful choice for daytime plans.
Start with a pale peach base and add orange pumpkins on two nails.
Black smiles work best when kept small and widely spaced.
Keep the expressions simple.
- Pale peach base
- Orange pumpkin shapes
- Black facial details
Extra Tip: Use a toothpick for the smallest facial marks.
8- Haunted French Tips
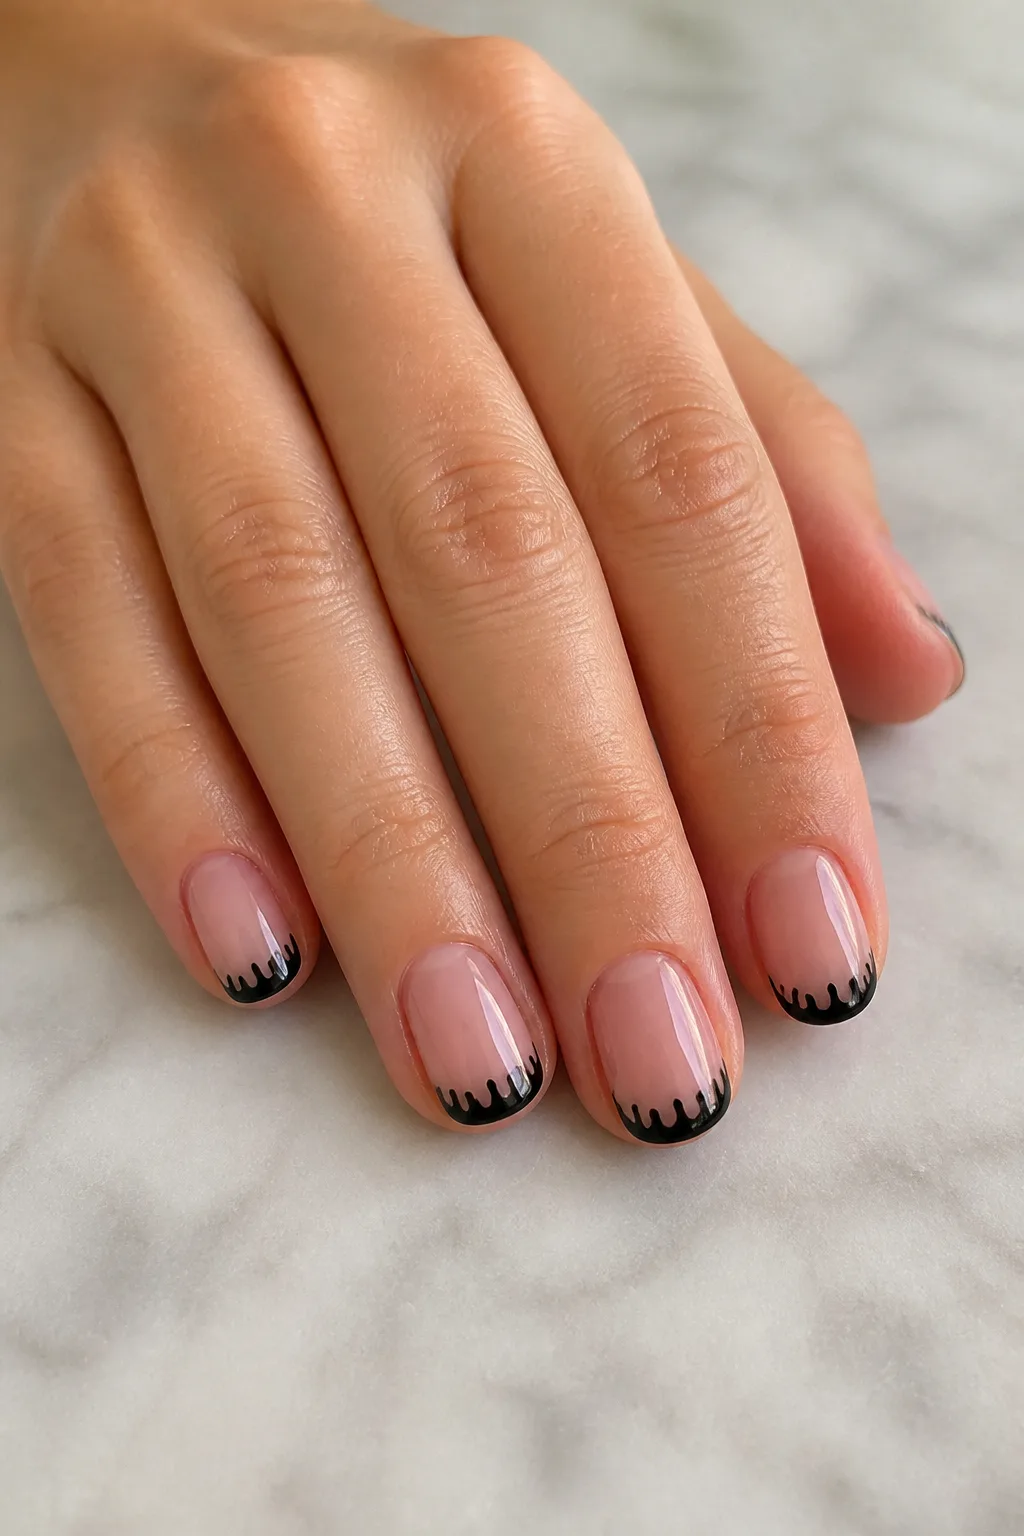
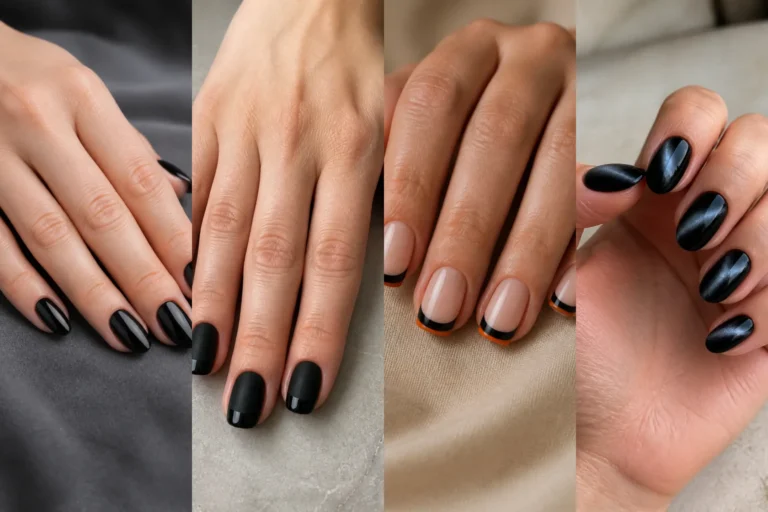
Uneven black French tips bring a haunted-house mood without clutter.
Paint a translucent pink base with irregular black drips at each edge.
Keep the drips short so they remain wearable at the office.
Polished with mischief.
- Translucent pink polish
- Black French tips
- Fine liner brush
Extra Tip: Vary the drip lengths slightly for a hand-drawn finish.
9- Olive Witchy Lines
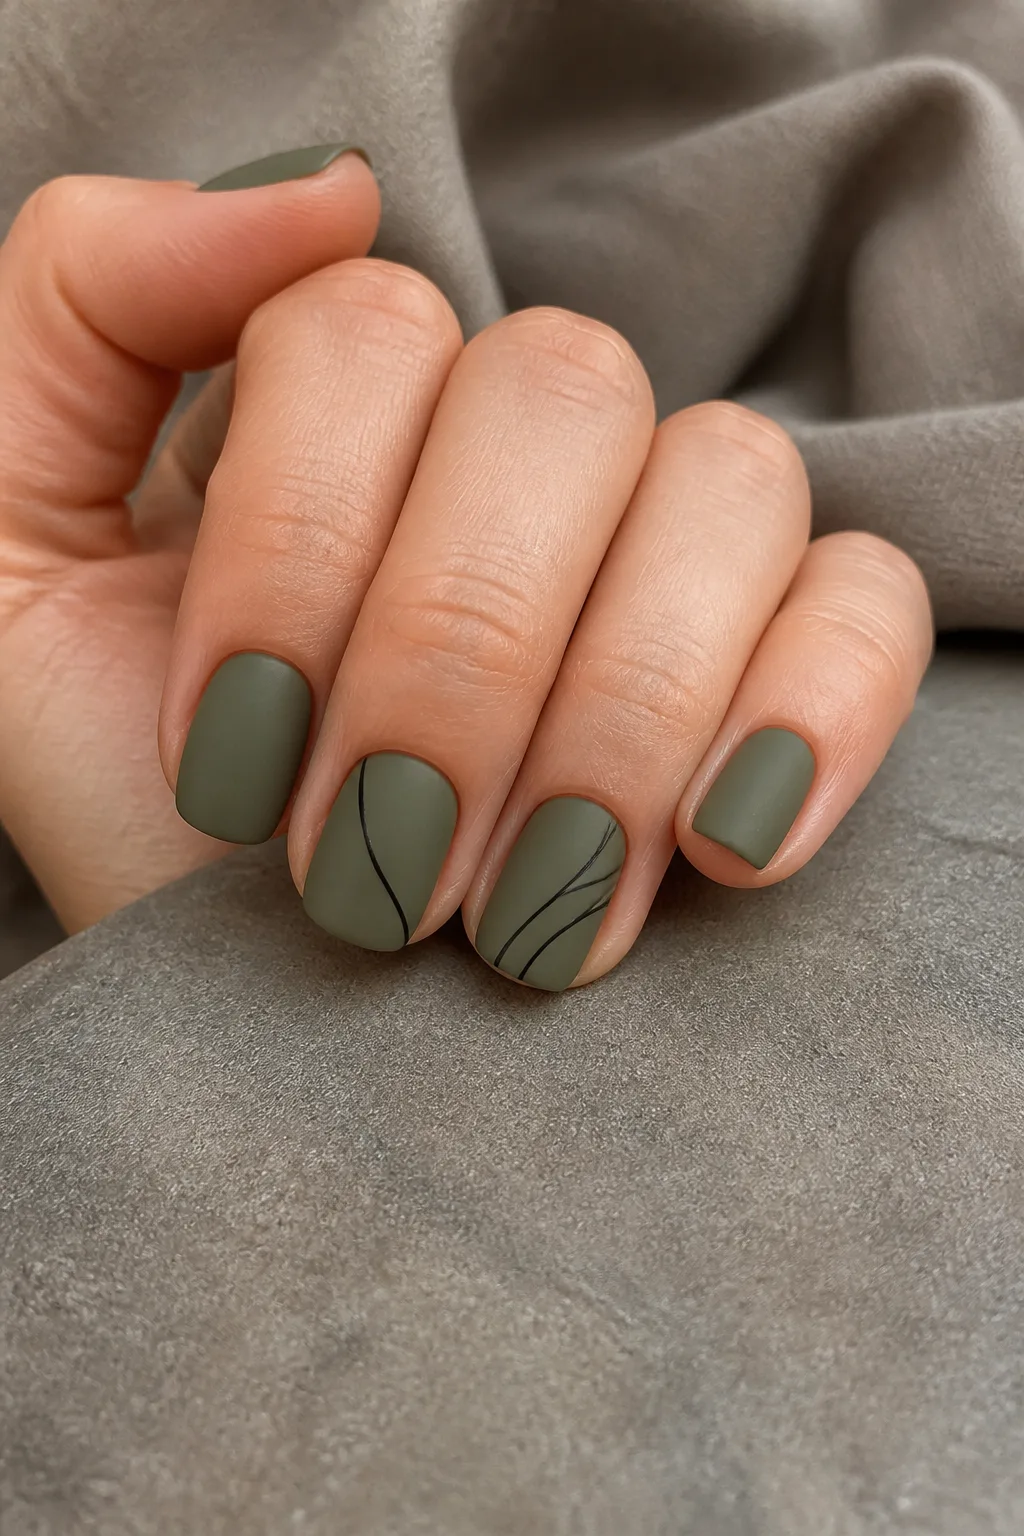
Olive green gives spooky nails a softer, earthy direction.
Use a matte olive base with thin black curved lines on two nails.
Short squoval nails give the graphic pattern enough room.
Earthy and eerie.
- Matte olive polish
- Black striping polish
- Squoval nail file
Extra Tip: Finish with matte topcoat after every line has dried.
10- Silver Coffin Details
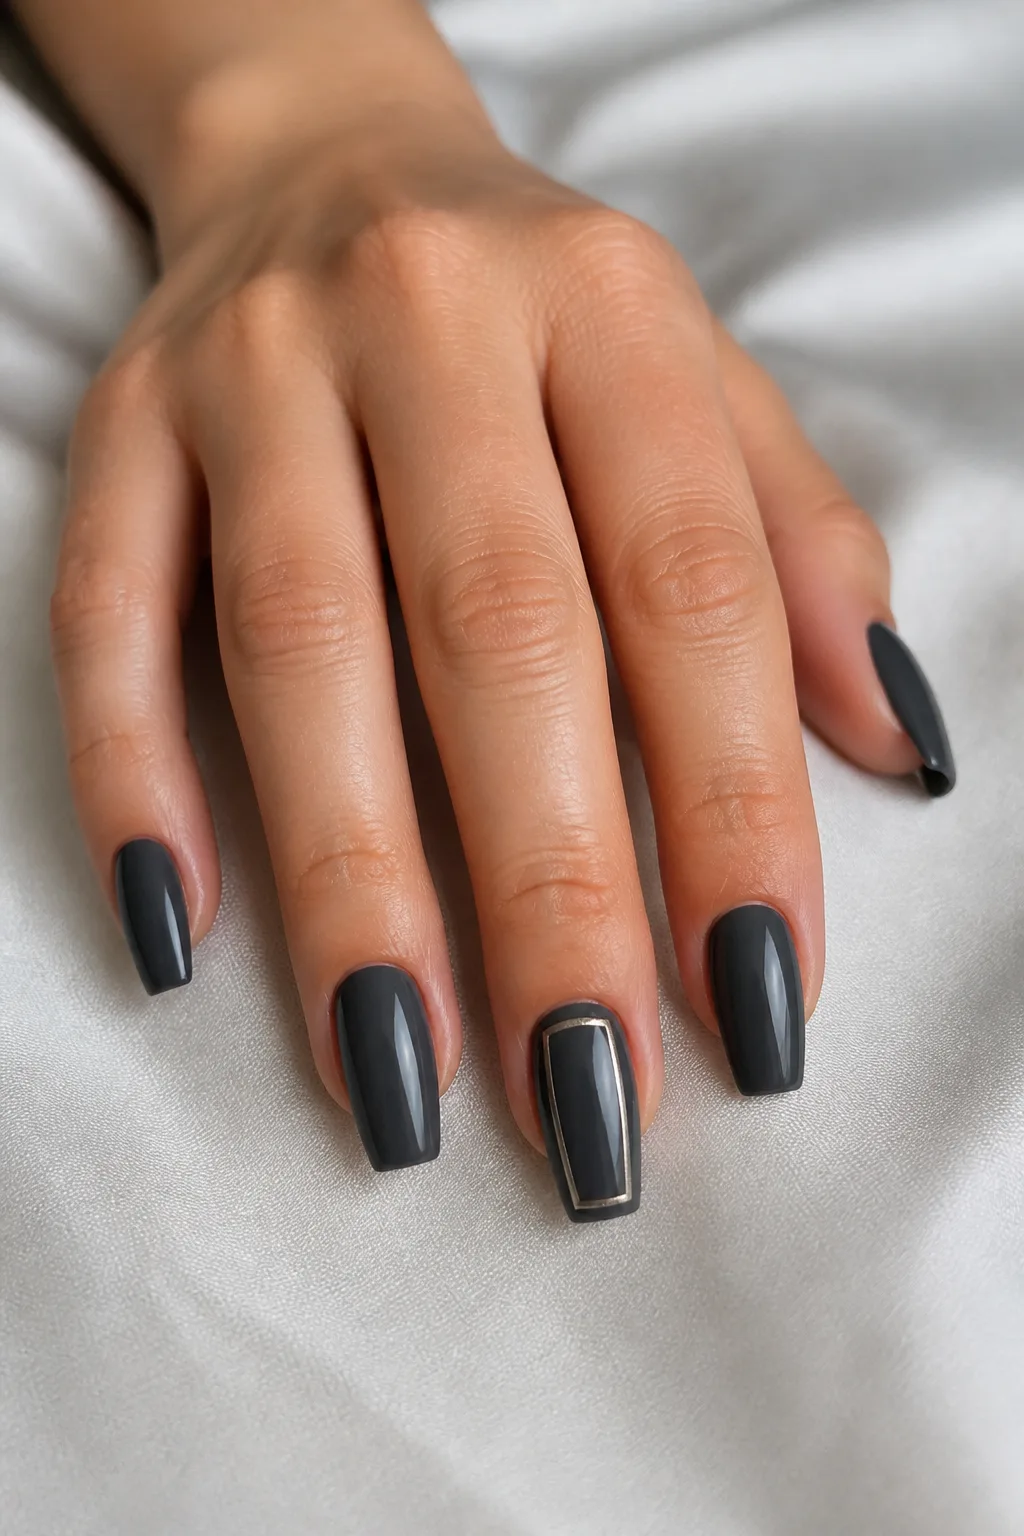
Silver accents suggest coffin shapes without making every nail dramatic.
Paint a charcoal base and add one silver outline on each ring finger.
Keep the remaining nails plain for a balanced, modern result.
Just enough shine.
- Charcoal base polish
- Silver metallic polish
- Thin outlining brush
Extra Tip: Outline the accent nail twice for sharper corners.
11- Cobweb Glitter
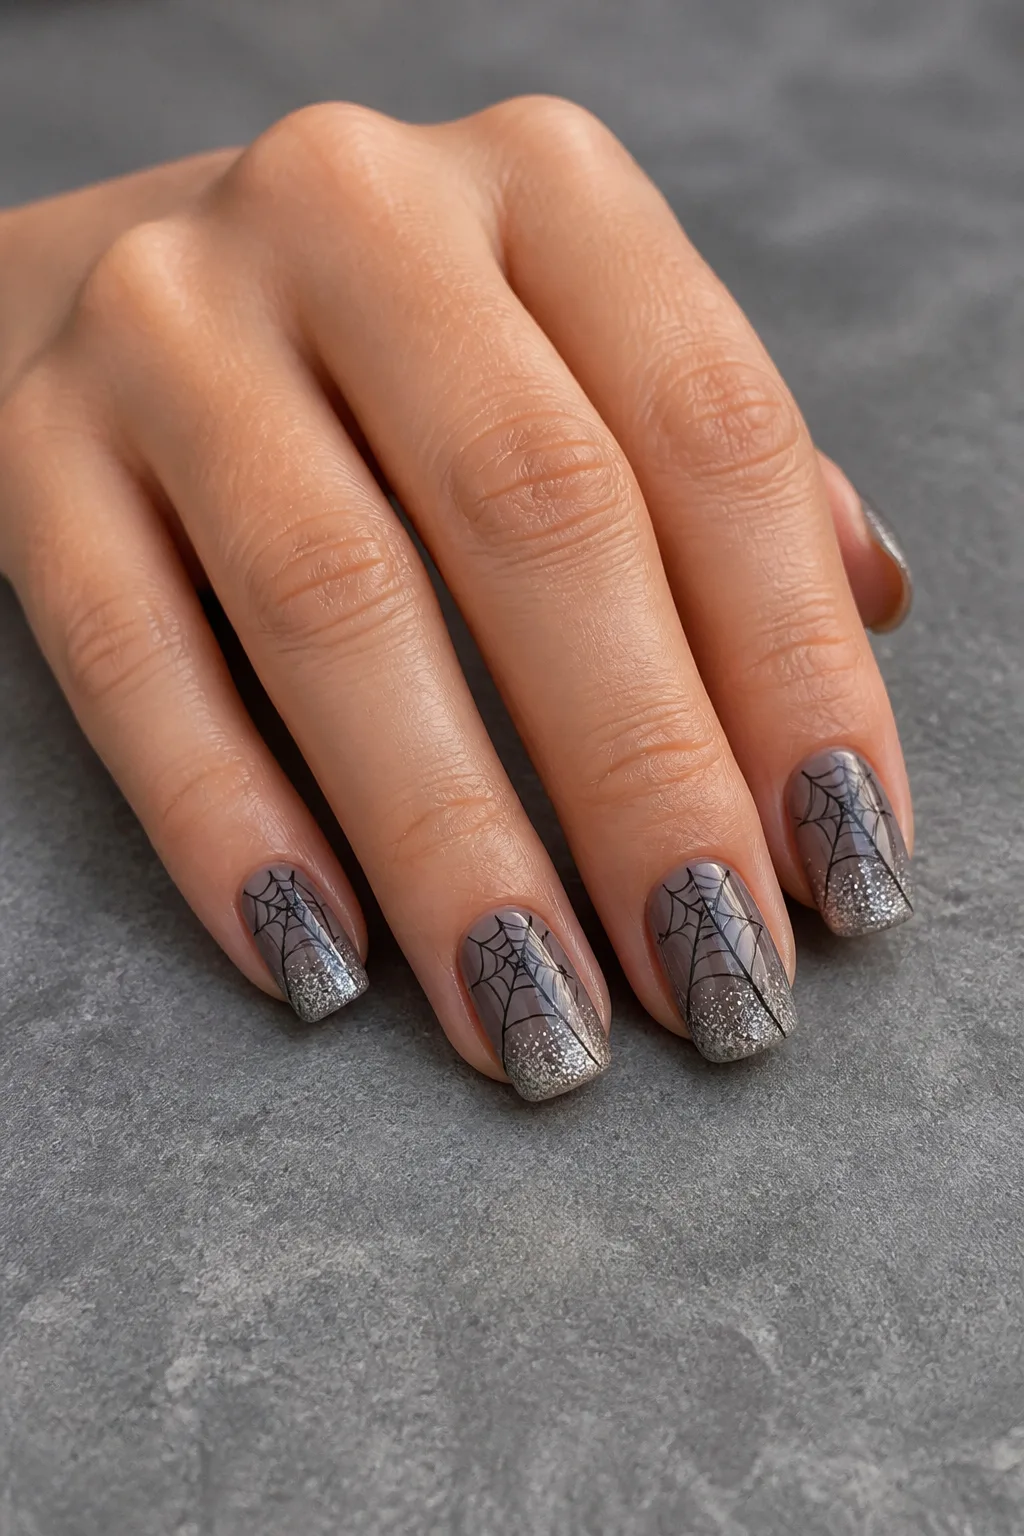
Fine glitter turns a simple web into evening-ready nail art.
Use a sheer gray base with black webs and silver glitter at the tips.
Choose fine glitter rather than chunky pieces for smoother texture.
Trending Topics
20 Red Christmas Nails for Every Holiday Mood21 Pumpkin Nails That Make Fall Outfits Feel More Polished27 Green Nail Ideas to Match Every Outfit15 Christmas Nails That Feel Fun, Polished, and PersonalBewitching Vampire Nails and Outfit PairingsCatch the light.
- Sheer gray polish
- Black web details
- Fine silver glitter
Extra Tip: Press glitter onto tacky polish with a flat brush.
12- White Sheet Ghosts
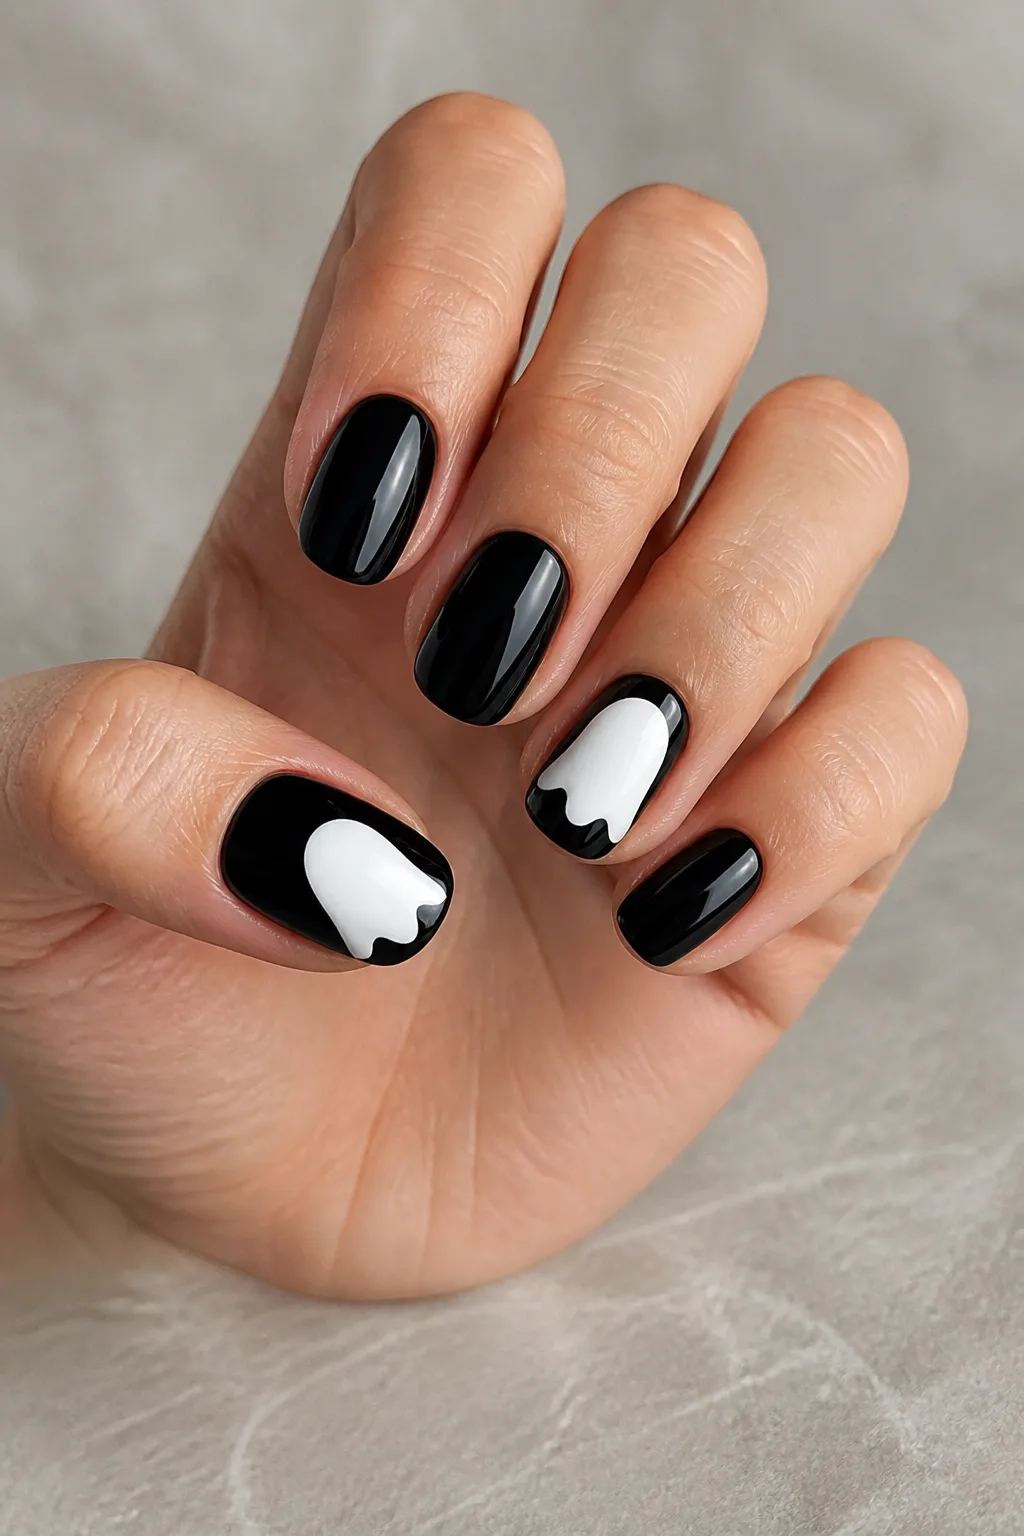
White ghost shapes look especially crisp against glossy black polish.
Cover four nails black and add rounded white figures to the accent nails.
Leave the ghosts without faces for a cleaner, more graphic effect.
Spooky but sleek.
- Glossy black polish
- Opaque white polish
- Small detail brush
Extra Tip: Seal the white shapes with topcoat to prevent dullness.
13- Rust And Black Flames
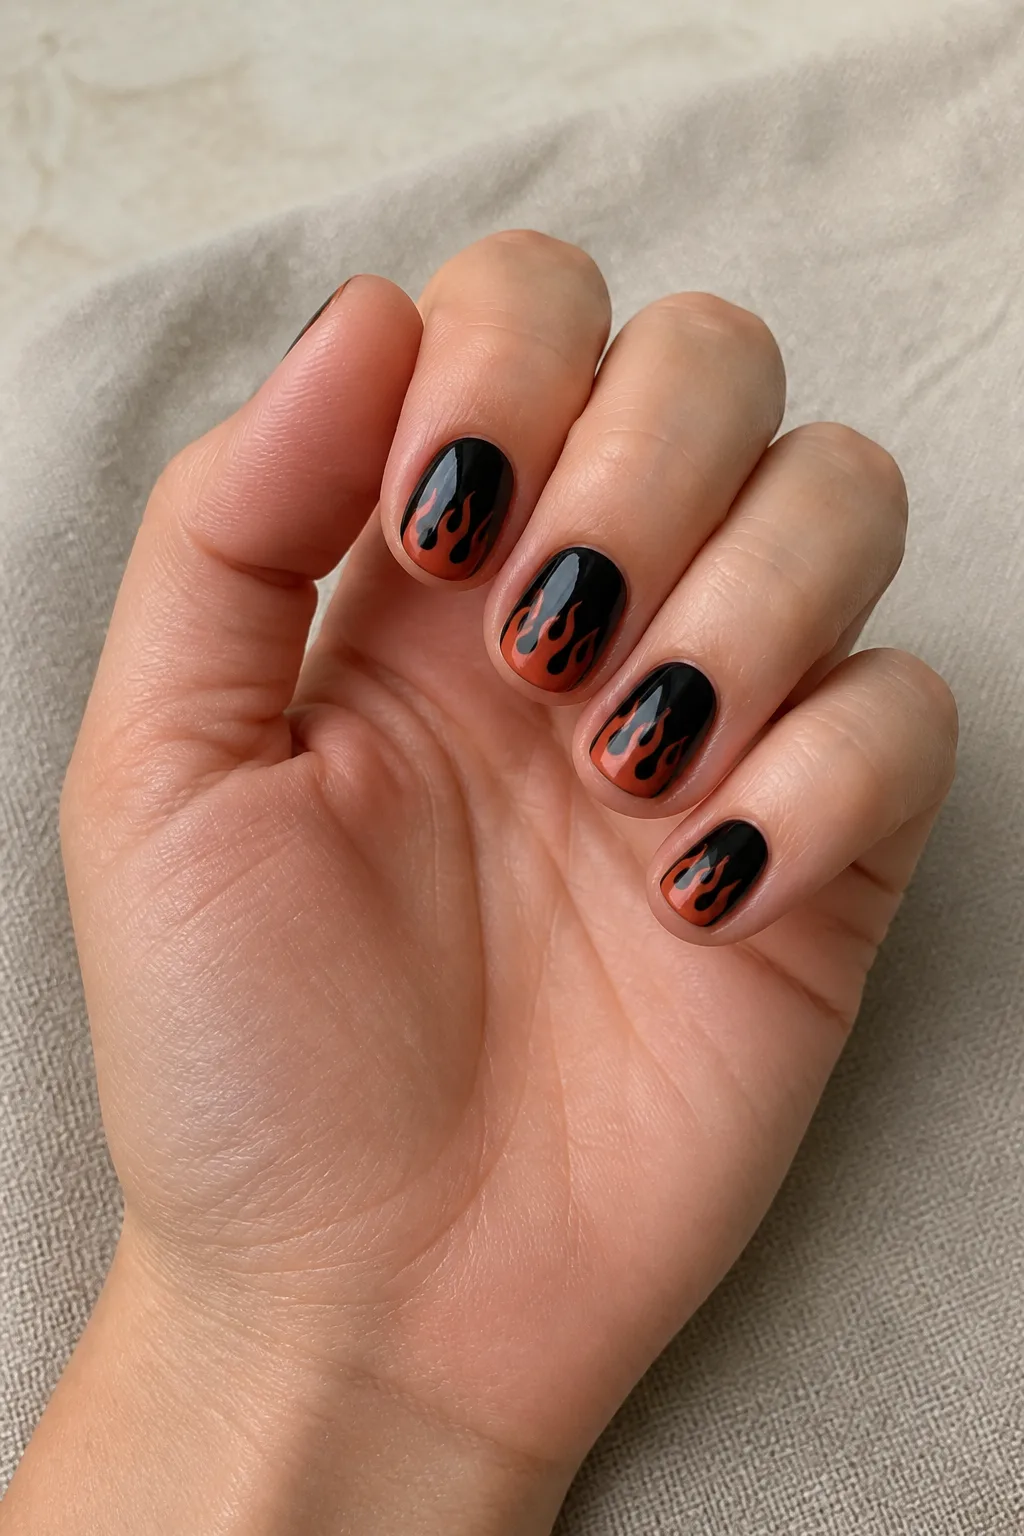
Rust-colored flames create movement while staying firmly autumnal.
Paint a black base and add short rust flames from each nail edge.
Keep the flame points rounded if you prefer a softer appearance.
Warmly dramatic.
- Black base polish
- Rust orange polish
- Fine flame brush
Extra Tip: Sketch the flame direction before applying any polish.
14- Bewitched Purple
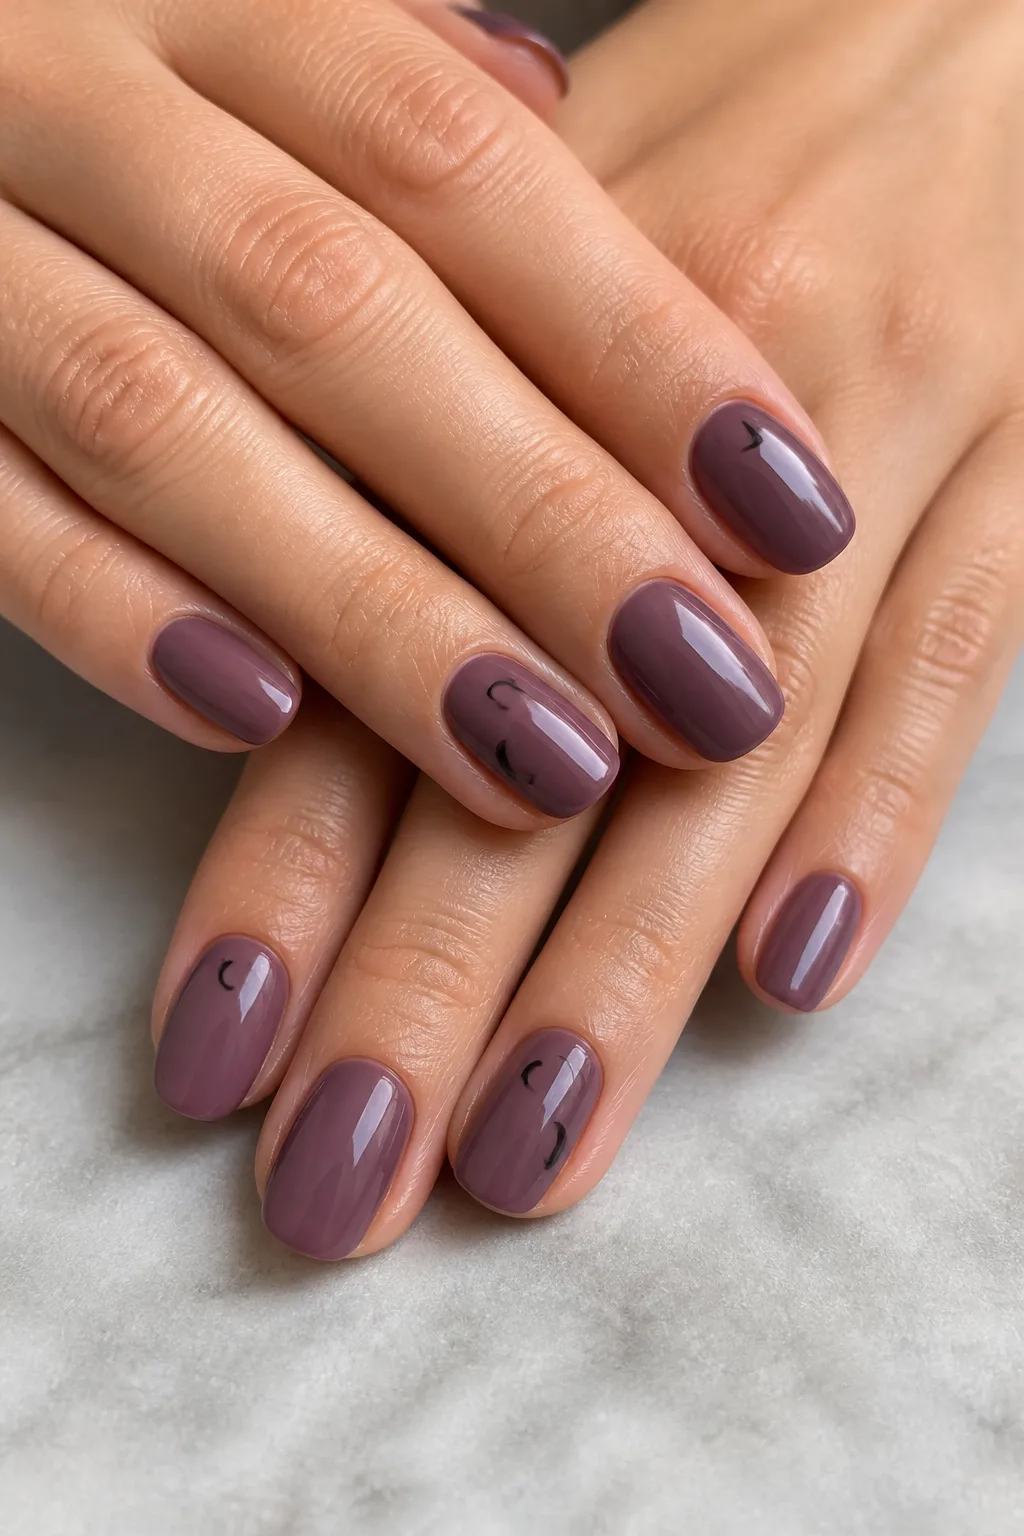
Muted purple offers a witchy mood without relying on bright color.
Use dusty plum polish with one black crescent moon per hand.
A glossy finish keeps this dark palette looking intentional.
Moonlit simplicity.
- Dusty plum polish
- Black crescent decals
- High-shine topcoat
Extra Tip: Position the moons near the sidewall for visual interest.
15- Candy Corn Blocks
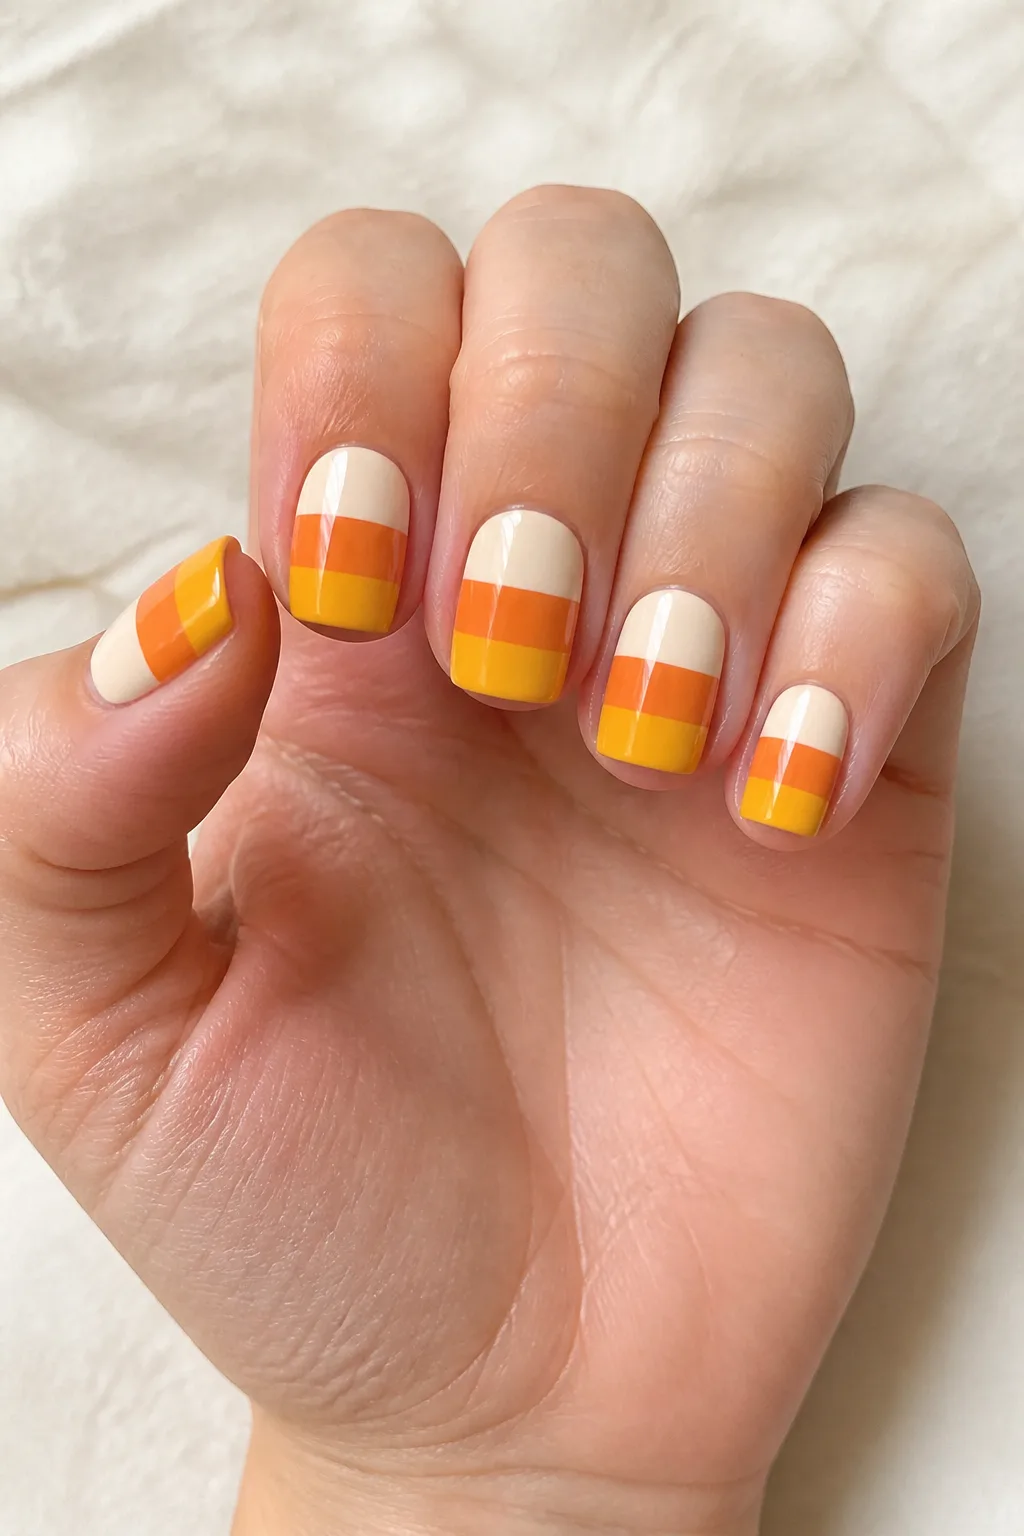
Three neat color blocks reference candy corn in a restrained way.
Layer cream, orange, and mustard across short square nails.
Use tape for crisp sections and remove it before the polish hardens.
Sweetly graphic.
- Cream polish
- Orange polish
- Mustard yellow polish
Extra Tip: Apply the lightest shade first to prevent muddy edges.
16- Skeleton Line Art
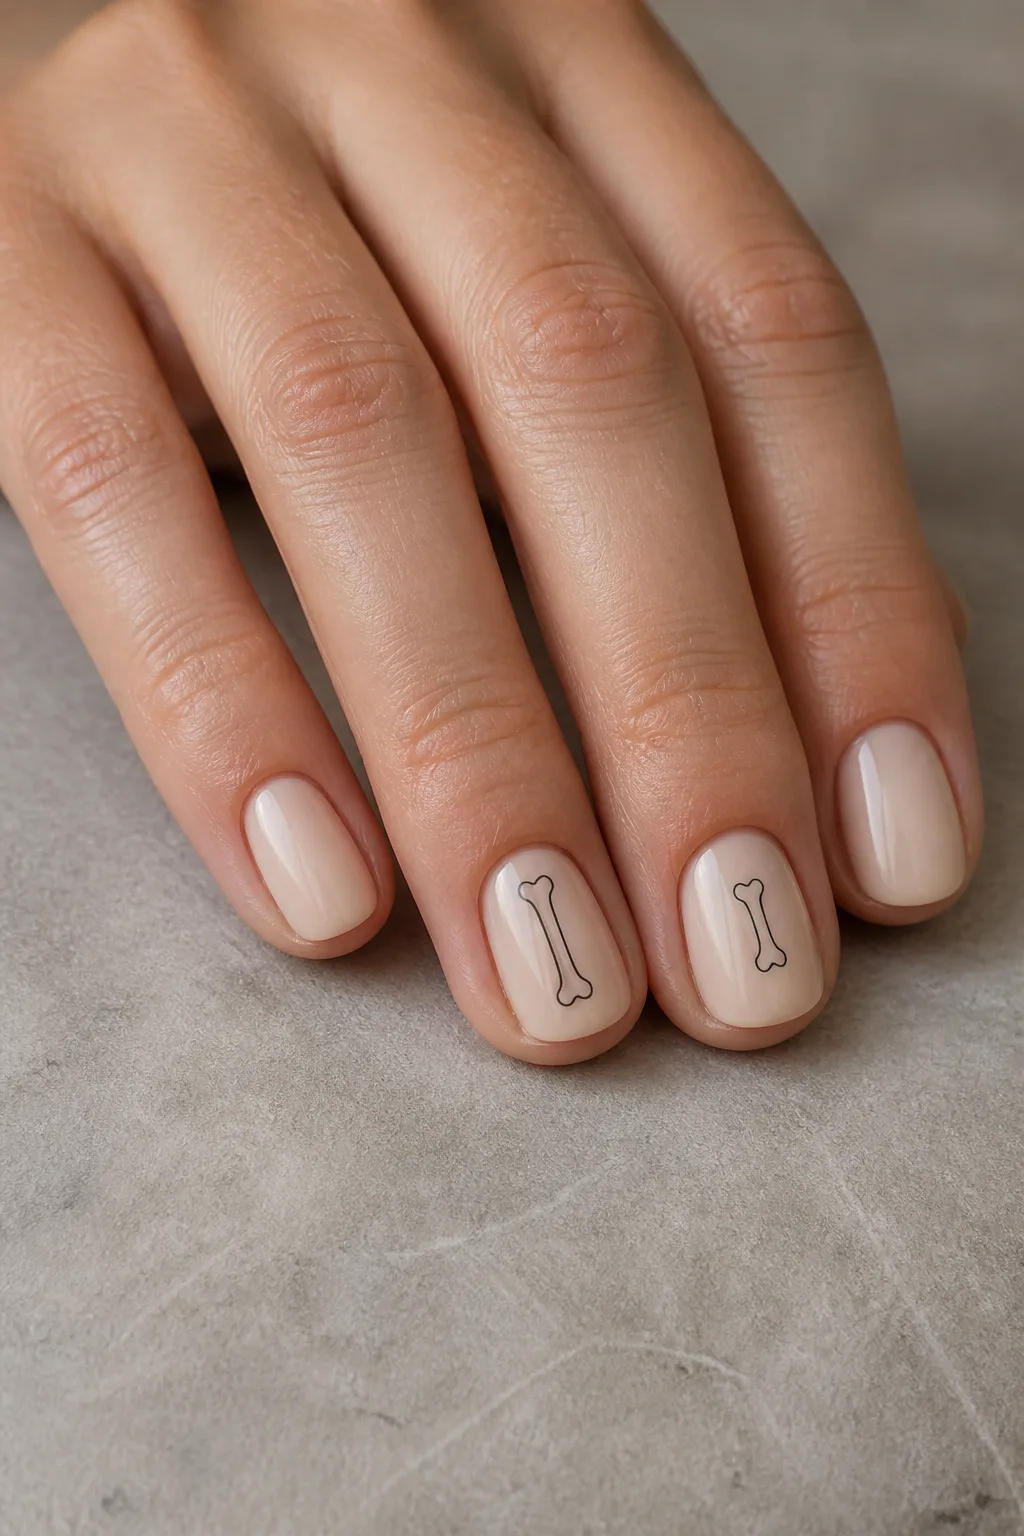
Simple bone lines bring Halloween personality to neutral nails.
Paint a pale beige base and draw tiny black bones on two fingers.
Choose a short nail length so the illustrations remain proportionate.
Delicate little bones.
- Pale beige base
- Black bone outlines
- Fine detail brush
Extra Tip: Use one continuous line for each bone whenever possible.
17- Matte Black Bats
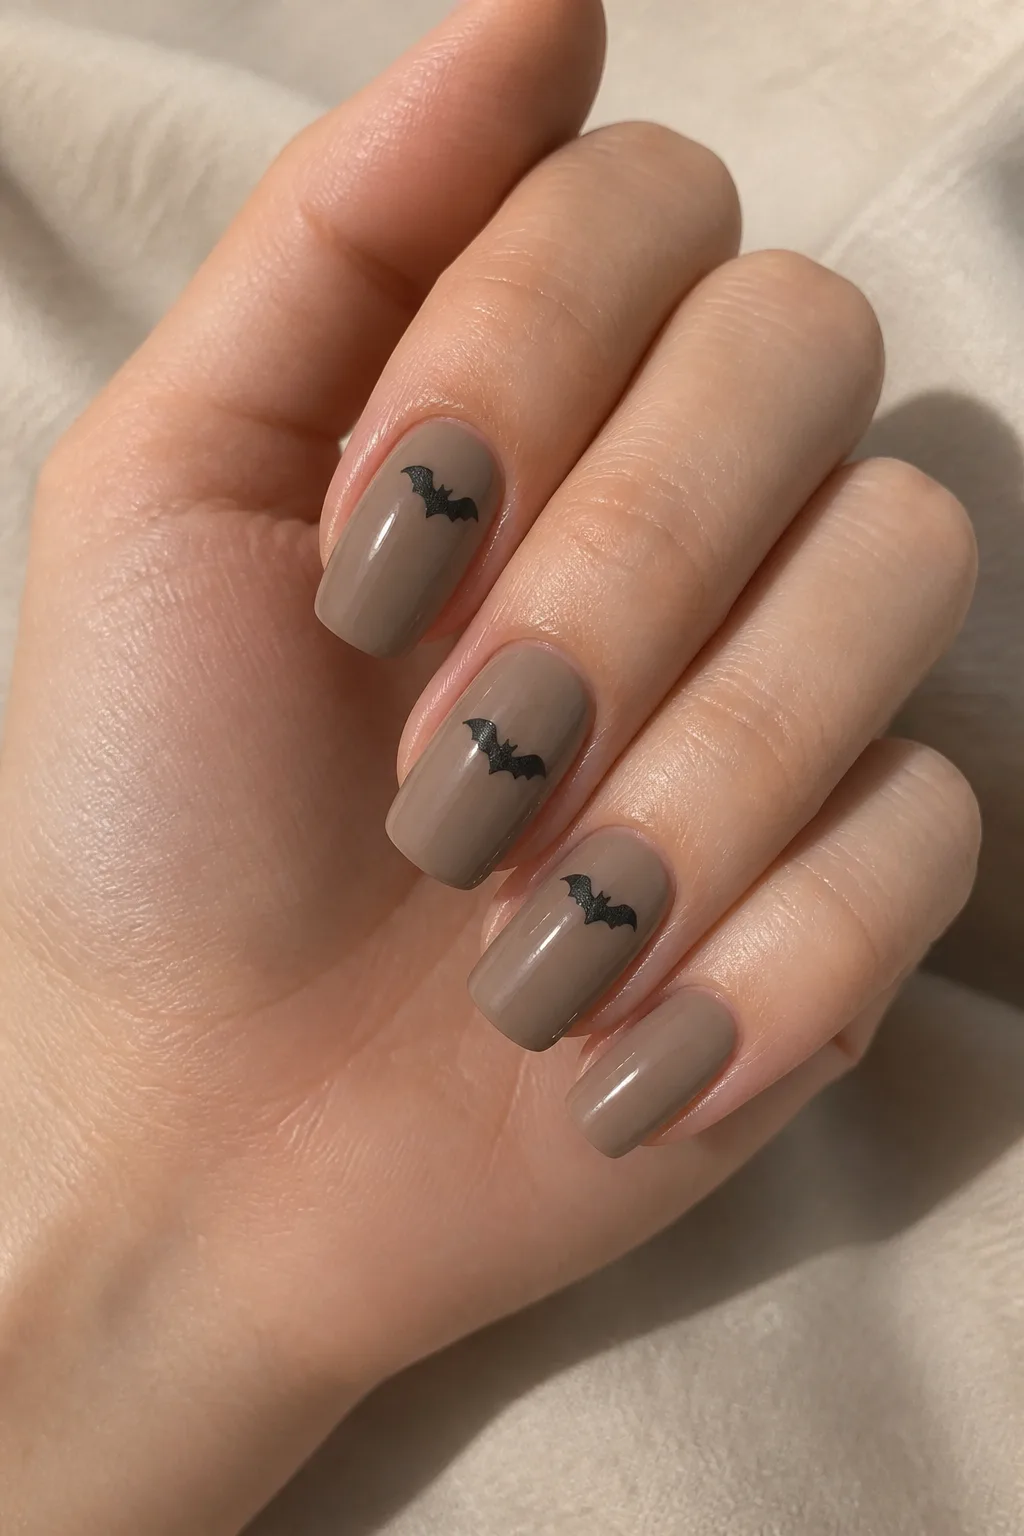
Matte black bats look subtle until the light catches their shapes.
Use a glossy taupe base and place matte bats across three nails.
Contrast between finishes makes the tiny shapes easier to notice.
Low-key night creatures.
- Glossy taupe polish
- Matte black bat decals
- Clear protective topcoat
Extra Tip: Apply matte decals over fully cured glossy polish.
18- Orange Crescent French
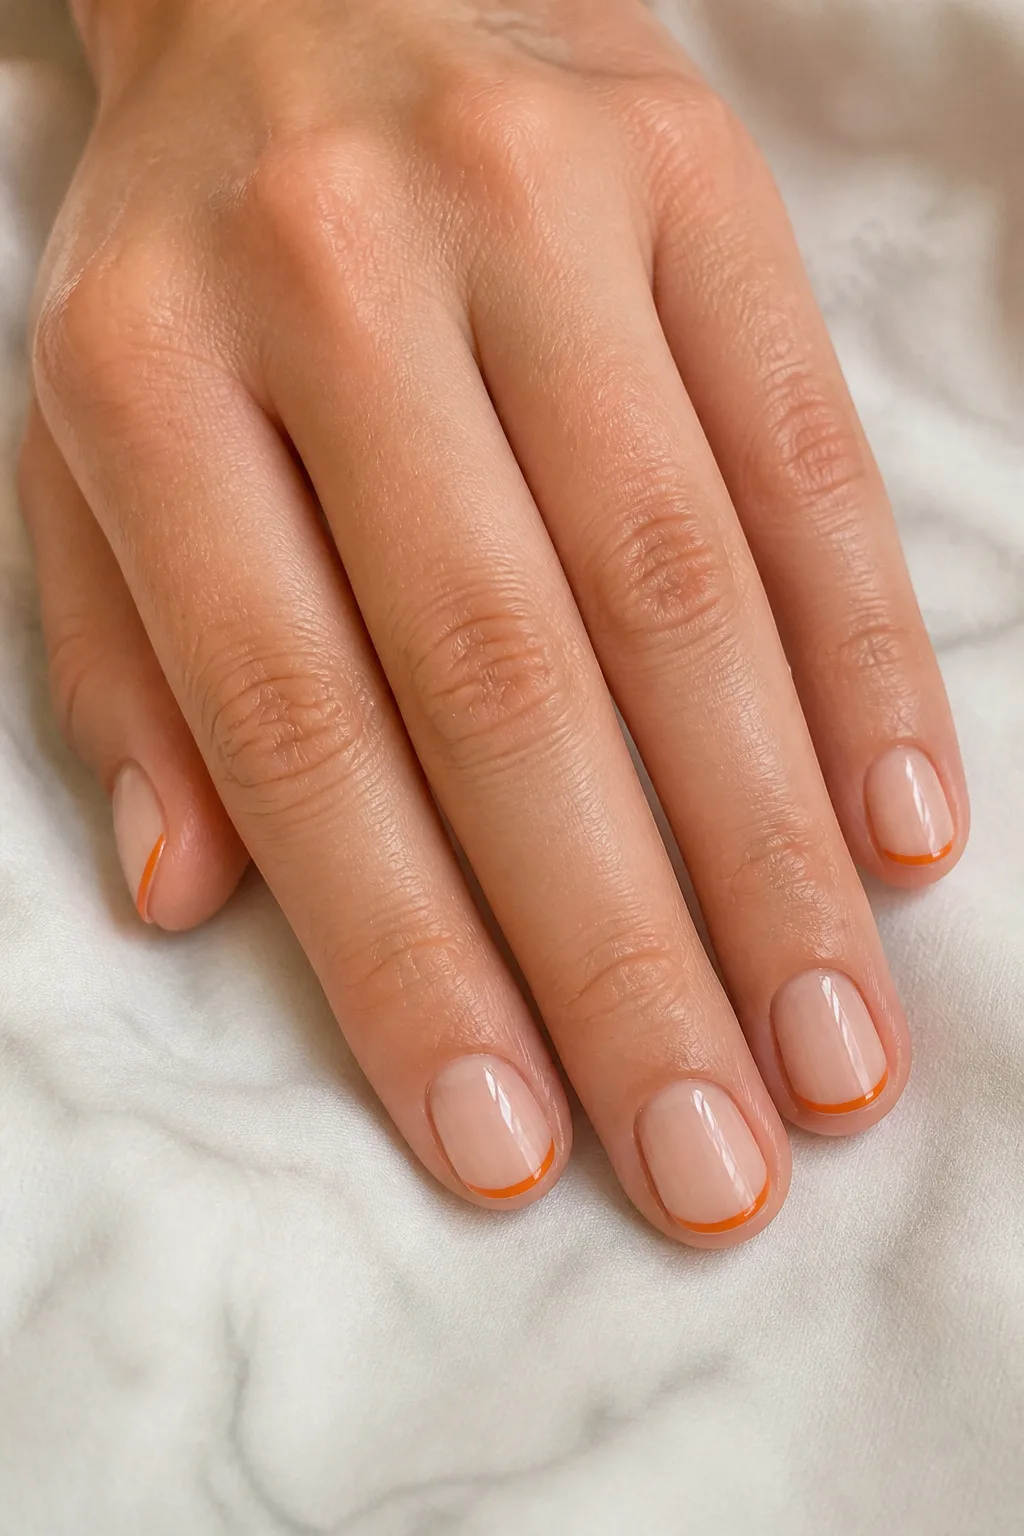
Orange crescent tips make a bright but tidy Halloween manicure.
Paint a sheer nude-neutral base with thin pumpkin-orange crescents.
Keep the crescents narrow when working with shorter nails.
Bright, not loud.
- Sheer neutral base
- Pumpkin-orange polish
- French tip guides
Extra Tip: Use a rounded brush to soften each crescent edge.
19- Gray Graveyard Lines
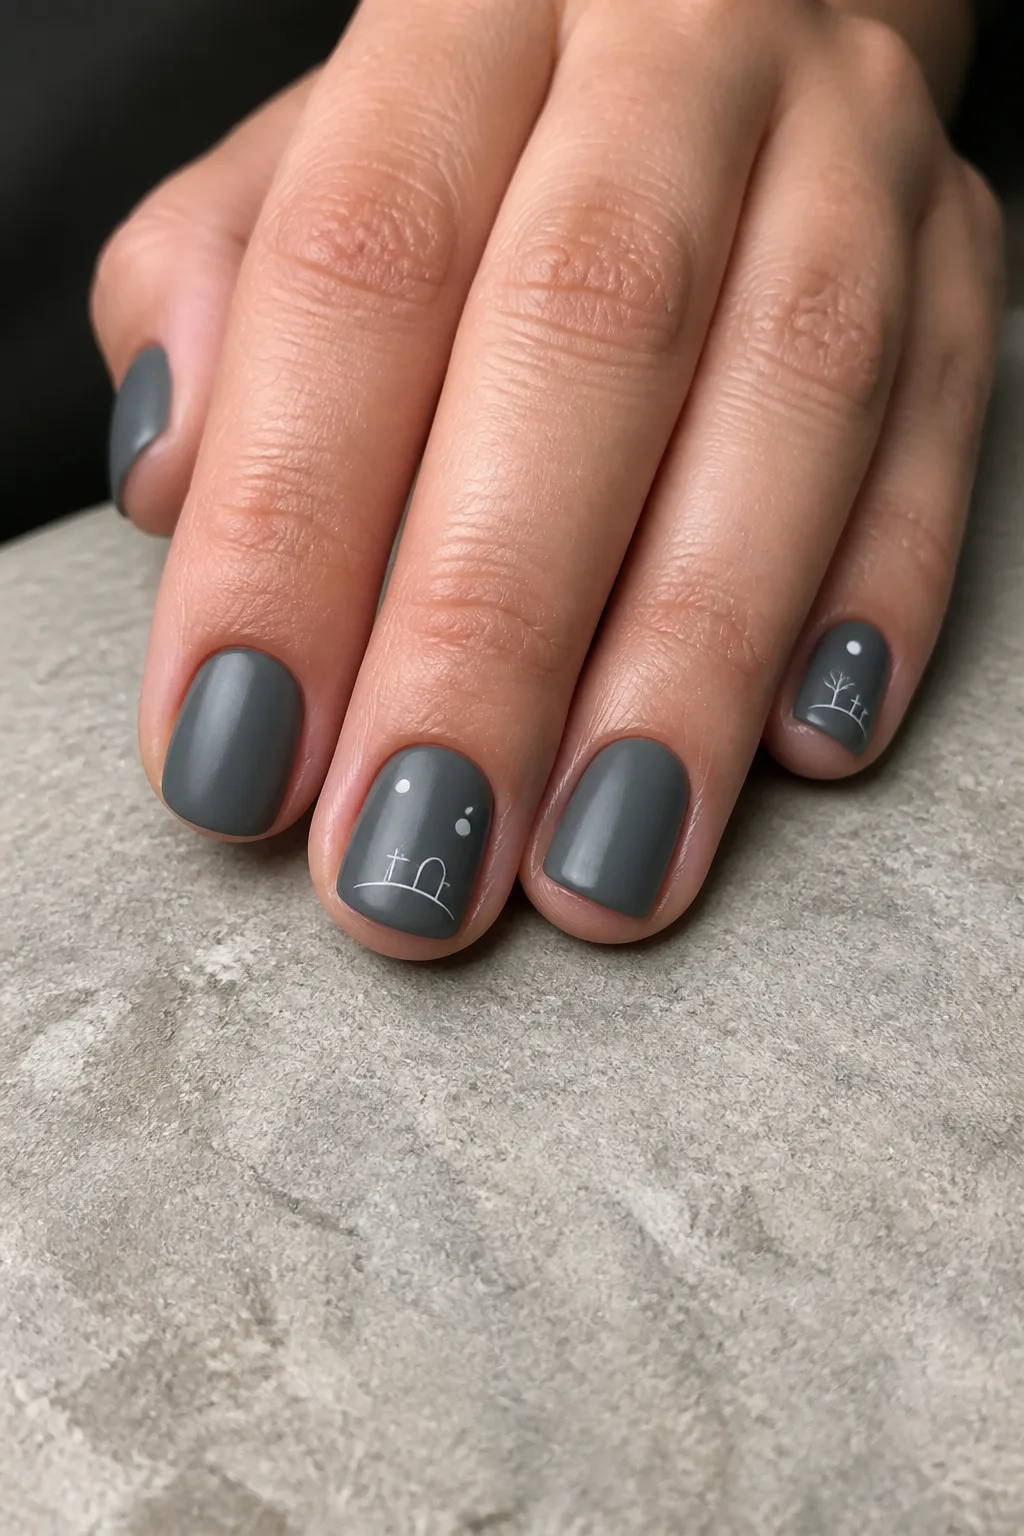
Minimal gray shapes suggest a graveyard without literal decoration everywhere.
Use slate polish with thin white gravestone lines on two accent nails.
Leave plenty of negative space so the design stays readable.
A tiny haunted landscape.
- Slate gray polish
- White gravestone lines
- Detailing brush
Extra Tip: Add one tiny moon above each gravestone for context.
20- Black And Copper Sparkle
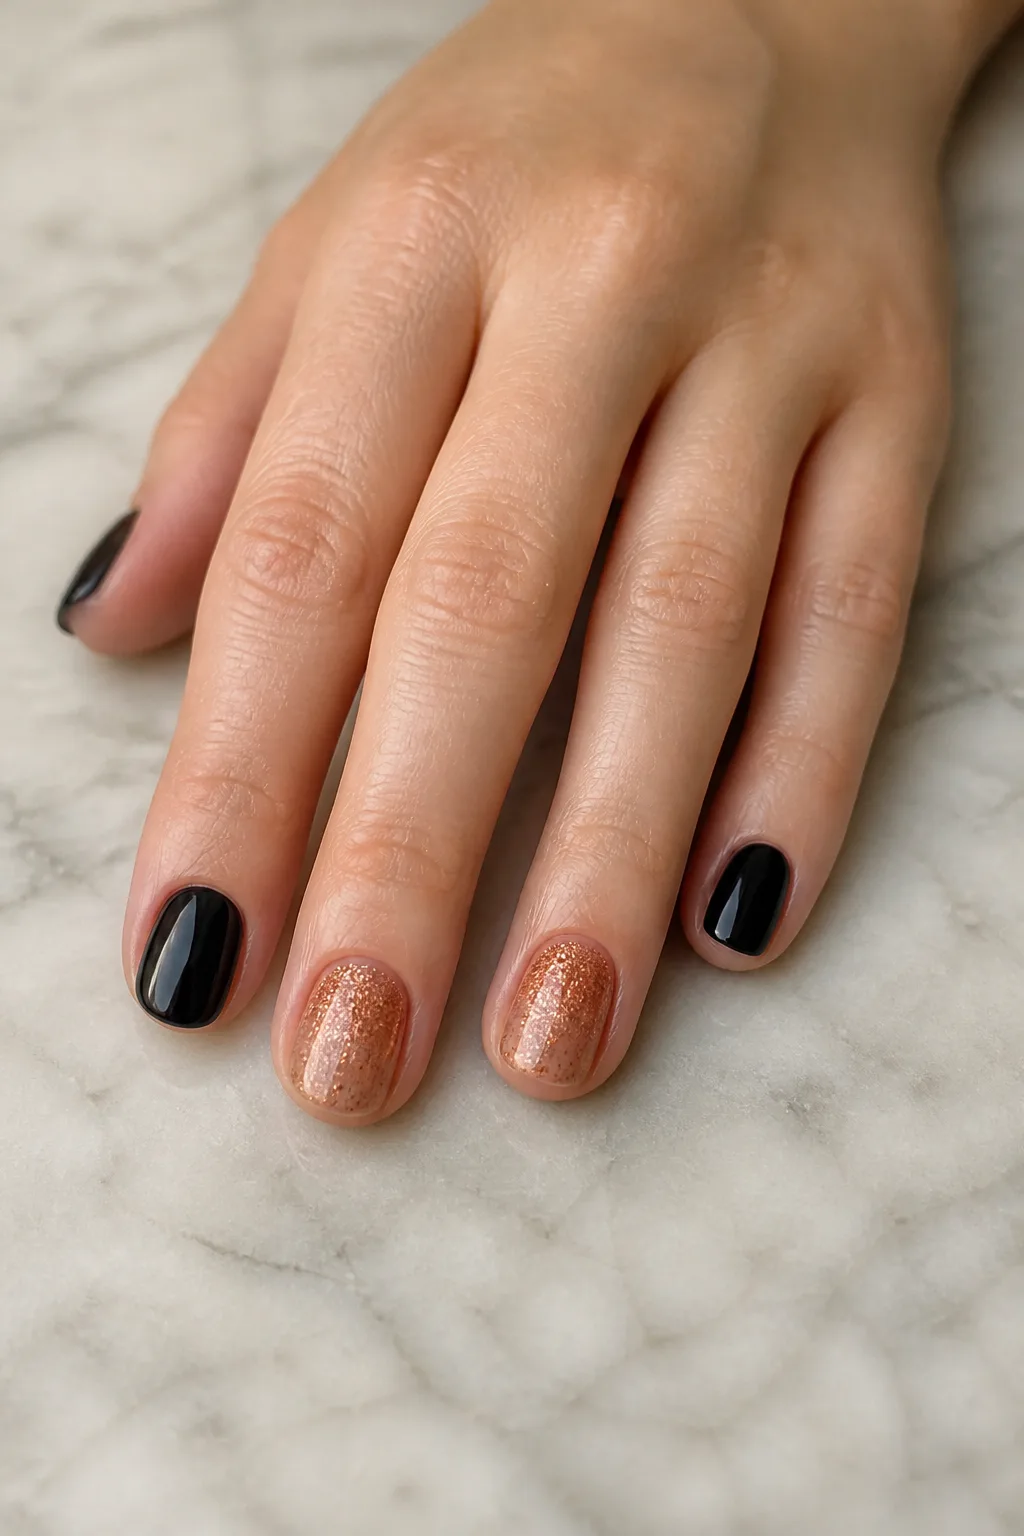
Copper sparkle softens black polish for a more dressed-up finish.
Paint alternating black and copper nails, keeping the shapes short and rounded.
This combination works well for dinners, parties, and evening gatherings.
Warm metallic contrast.
- Black cream polish
- Copper glitter polish
- Rounded nail file
Extra Tip: Concentrate glitter near the cuticle for a gentle gradient.
21- Tiny Eyeball Accents
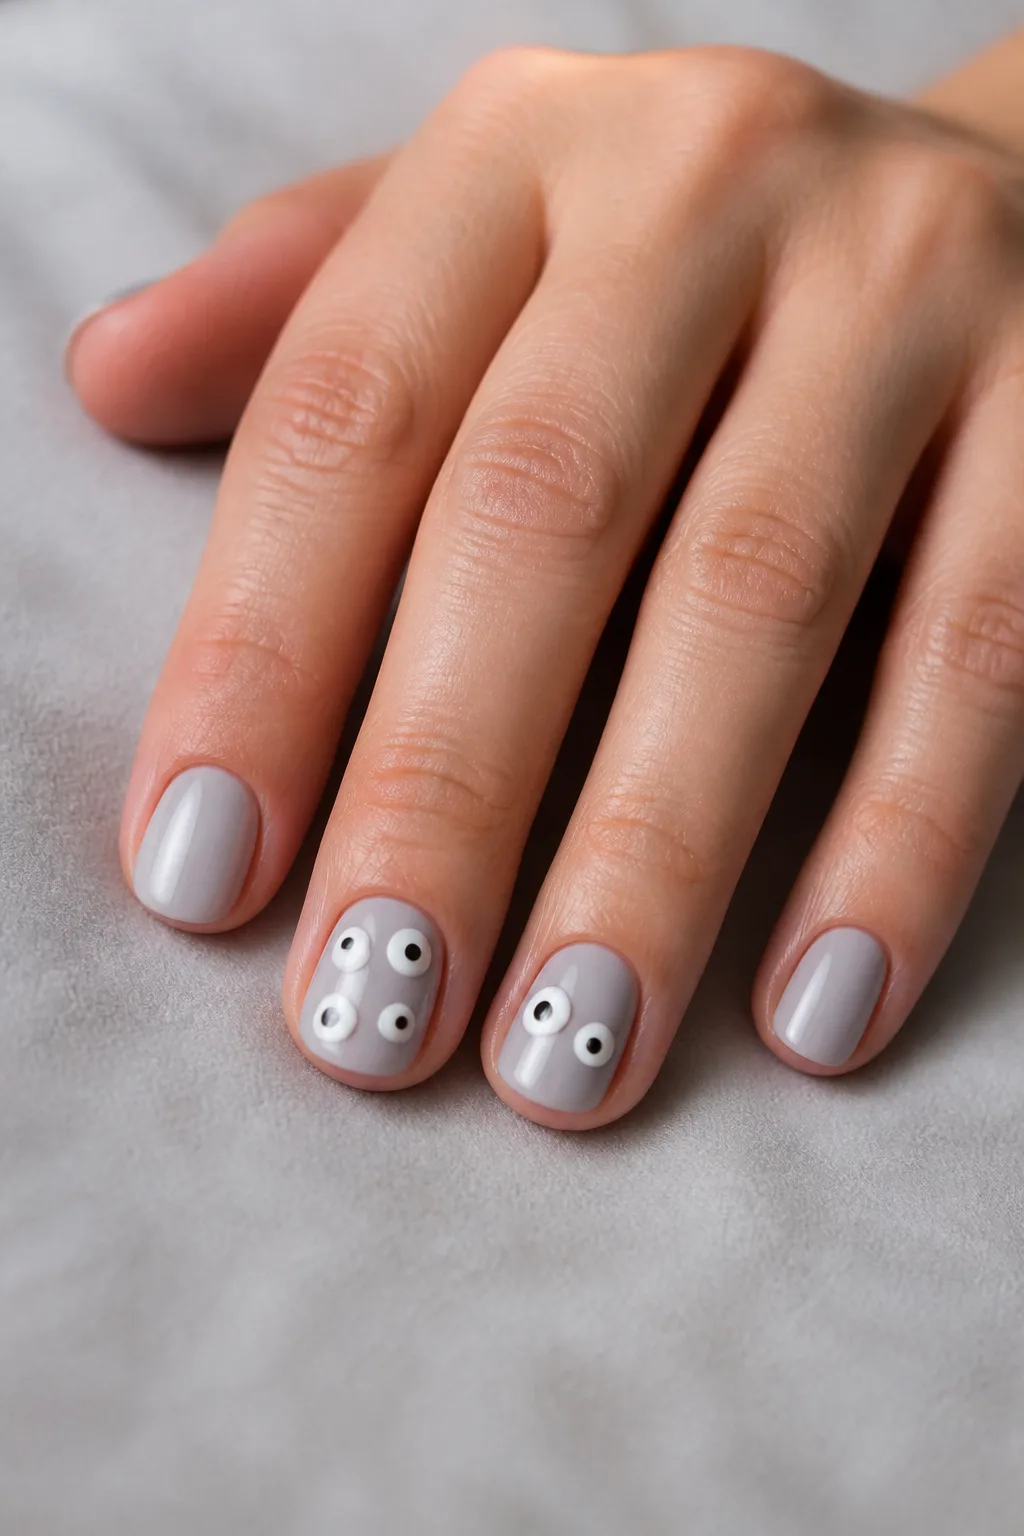
One or two tiny eyes create a playful final option.
Use a pale gray base and add white circles with black centers.
Keep the eyes on accent nails so the manicure remains refined.
Watchful and fun.
- Pale gray base
- White eye circles
- Black center dots
Extra Tip: Vary the eye sizes slightly for a less uniform expression.
Choosing Your Spooky Finish
The best simple halloween nails spooky designs balance theme, comfort, and everyday polish.
For simple halloween nails spooky women can wear anywhere, prioritize clean shapes and manageable length.
Among these simple halloween nails spooky ideas, the right choice is the one that still feels like you.
I am Sofia Bennett, the editor behind VFB Style and a mum of three. I share wearable outfit ideas, seasonal styling tips and practical fashion inspiration for real everyday life from real life fashion trends.